Job : Actions Toolbar
This article applies to s using the data model only.
Overview
The Actions Toolbar shows along the top of the screen. This toolbar will help you manage Candidates as they move through the recruiting process for a Job. This article shows you how to use the toolbar.
Toolbar Buttons

Quick Add
Select the Quick Add  icon in the Actions toolbar to add a Candidate to the Job.
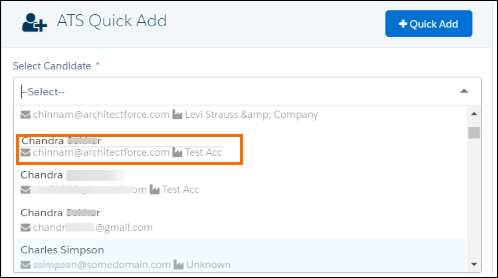
- Click the button to open the Quick Add window.
- Choose a Candidate from the drop-down list and pick a Stage for the Candidate.
- The Select Candidate dropdown shows the Candidate’s Email and Account.
- The Select Candidate dropdown shows the Candidate’s Email and Account.
- Finally, click the blue + Quick Add button on the pop up window.
Unselect All
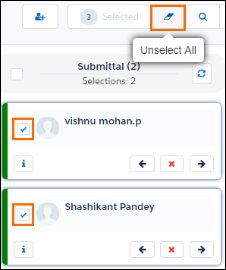
When more than one candidate checkbox is marked on the Candidate cards, click the Unselect All icon  to clear all checkboxes that have been marked.
Show/Hide Search
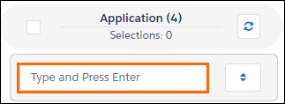
Click the Show/Hide Search icon  to search for a Candidate Name card. Type the candidate name and enter. The Candidate Name card opens. Click the Show/Hide Search button again to hide.
Mass Action
Mass Action allows you to move multiple candidates at one time. You can either mark the checkboxes near the candidate’s name or select all candidates in a column by using the column checkbox. Candidates in different stages can be selected. Select the Mass Action dropdown arrow and choose an option.
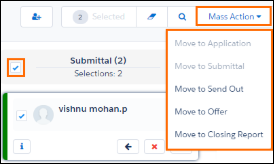
Some of the drop-down menu options might be disabled depending on your selection. If candidates in different stages are selected, you will only be able to move forward to the most advanced stage. For example, if you select a Candidate in Application and one in Send Out, the menu will only have Move To Offer/ Move to Closing Report enabled.
Reject Selected
You can reject the candidate and keep the Candidate record. There are two ways to reject the candidate: click the x on the Candidate card or mark the Candidate checkbox and click the Reject Selected icon  .
.
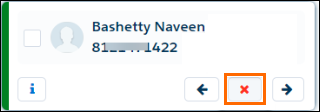
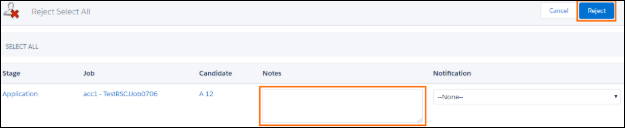
In the Reject Candidates popup window, type the reason for rejection in the Notes field and click the Reject button. The bar on the Candidate Name card turns red.
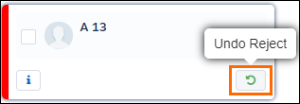
To undo the reject, click the Undo Reject icon on the Candidate card. In the Reject Candidates popup window, type the reason in the Notes field and click the Undo Reject button. The bar on the Candidate Name card turns green.
Add to Call List
The Add to Call List provides the following options:
Add to an Existing Call List
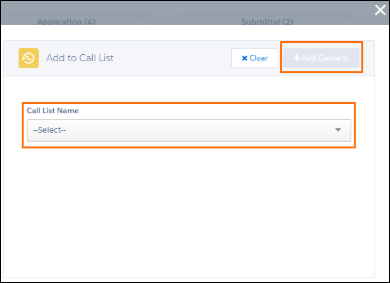
Mark the checkbox on the Candidate card(s) and click the Add to Call List icon  . In the popup window, select the Call List Name dropdown arrow and select a call list name. Click the Add Contacts button.
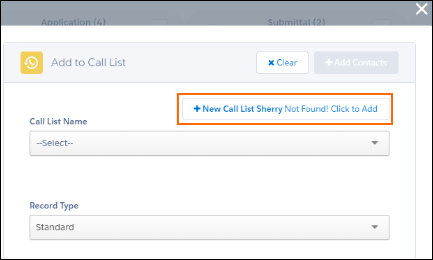
Create a New Call List
Mark the checkbox on the Candidate card(s) and click the Add to Call List button. In the popup window, enter the name of the new call list in the Call List Name field. Click the new name confirmation message "Not found! Click to Add" and verify that the new call list name is correct.
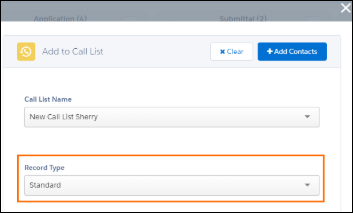
Select the Call List Record Type in the Record Type drop-down. Then, click the Add Contacts button to create the new call list.
Schedule Interview
Schedule Interview can quickly schedule an interview without having to drag-and-drop a Candidate card to the Send Out stage. Mark the checkbox on the Candidate card and click the Schedule Interview icon  . The New Send Out Schedule data entry page displays.
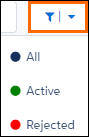
Filter
Filter the Candidate cards to view All, Active, or Rejected. Click the Filter icon  and select an option.
Switch to Candidate or Exit From
Use this button to switch to the Candidate or Exit the .
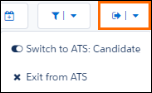
The Exit from option is only visible if you are using Classic. In Lighting, the page shows the tabs on top so users can navigate away by clicking the desired tab.
