| Package: Recruiting(JS2) |
Configuration & Use of Visual Email Templates
![]()
New in Jobscience Winter 17, codenamed Moose, comes the ability to associate an image icon/thumbnail to an Email Template. The setup steps are found below and must be completed by a User with System Admin permissions to the database. The use steps can be completed by any User with permissions to the Jobscience Email UI.
This feature can be used in conjunction with 'Email Folder Hierarchy' & 'Locked Email' functionality.
Prep Work
Pick the Images
-
Decide what will be displayed for the thumbnail and preview images. It is OK to use the same image for each, just with different pixel sizes. Recommended pixel sizes are Thumbnail = 225x100 & Preview = 450x550.
-
Save the desired images to your local machine.
Import Images into Salesforce
-
Navigate to the Documents Tab.
-
Find & access or create a new folder where the email images will reside.
-
Select New.
-
Document Name: desired value, make it memorable for easier finding at a later time.
-
Externally Available Image: True (checkmark).
-
-
Choose File & upload the desired image.
-
Save your changes.
-
Right-click on the image and select Copy Image Address.
Save this value for later use.
Repeat these steps for every image (Thumbnail & Preview) you want to be used in the Visual Email UI. Using a spreadsheet to track this information would be useful if you have more than 1 image to configure.
Capture Email Template ID's
-
Navigate to Setup > Communication Templates > Email Templates.
-
Find & access or a create new Email Template.
-
Capture the ID found in the URL.
-
Example URL's:
-
https://mycompanyname.my.salesforce.com/00X?setupid=CommunicationTemplatesEmail&fcf=00l3A000002bte7
-
https://na12.salesforce.com/00X?setupid=CommunicationTemplatesEmail&fcf=00l3A000002bte7
-
-
Repeat these steps for every Email Template that will be used in the Visual Email UI. Using the same spreadsheet from 'Import Images into Salesforce' would be helpful when you have more than 1 Email Template to configure.
Configuration
Create the Metadata
-
Navigate to Setup > Develop > Custom Metadata Types.
-
Select Manage Records for the Email Template option.
-
Click New (or edit if you want to edit an existing configuration).
-
Label: Value displayed to the end user of the Email Template. It's recommended to use the same value from the actual Email Template.
-
Template ID: Value captured in 'Capture Email Template ID's ' step #3.
-
Thumbnail URL: Value captured in 'Import Images into Salesforce' step #8.
-
Full Preview URL: Value captured in 'Import Images into Salesforce' step #8.
-
-
Save your changes.
Use
-
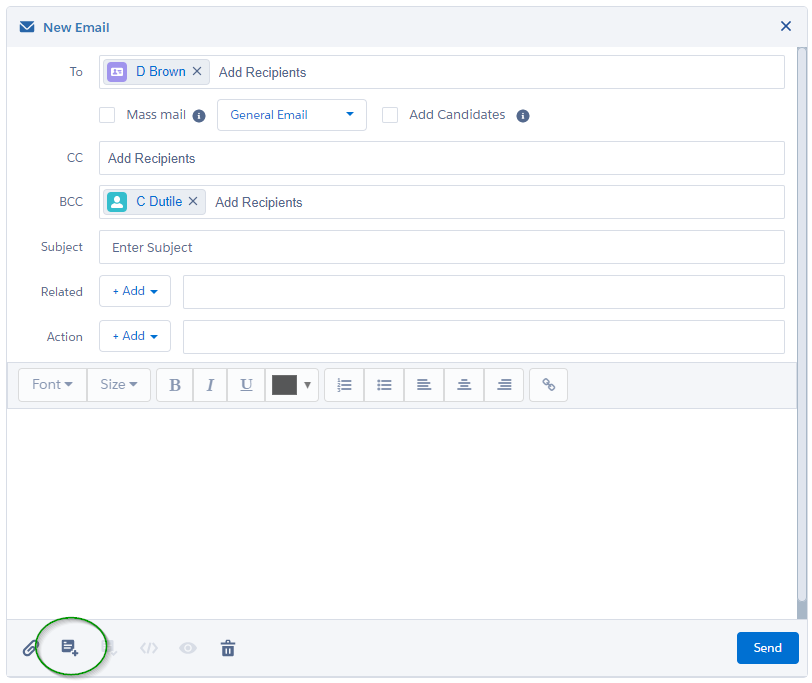
Access the Jobscience Email Interface & click the Email Template Icon.
-
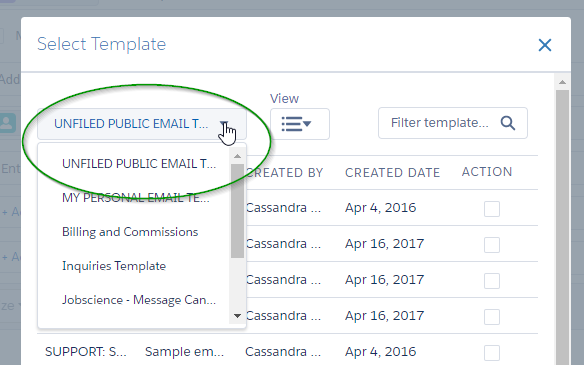
Use the Folder selector to locate the desired Email Template Folder.
-
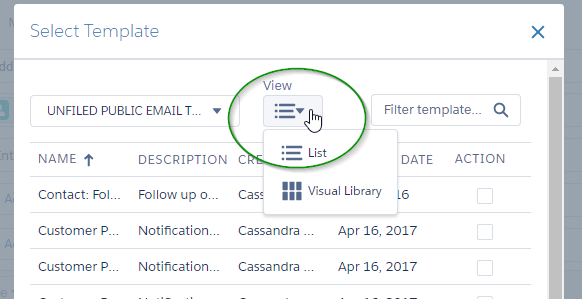
Change the View to Visual Library.
-
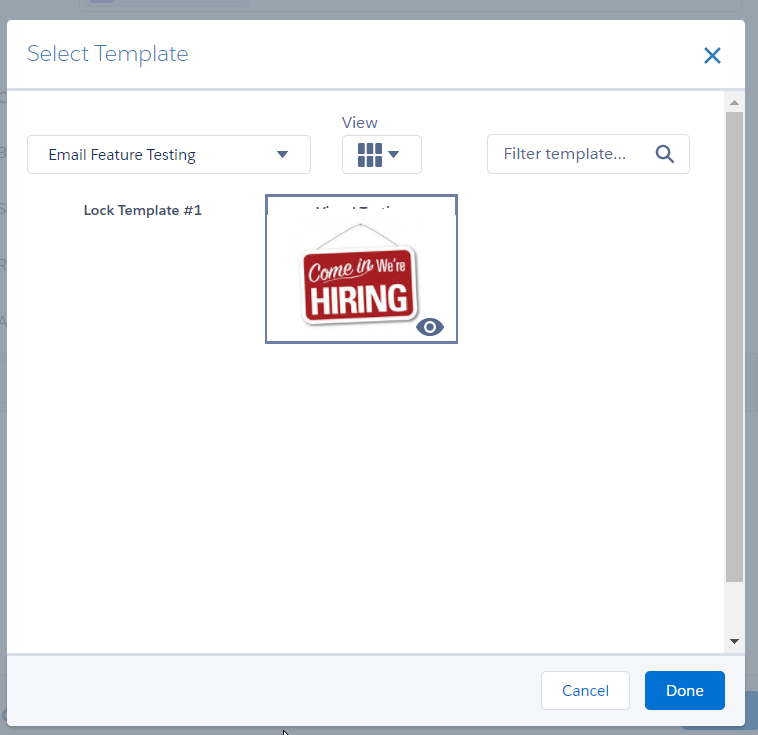
Find the desired Email Template based on the Icon displayed & click Done.
Notice that Icons will display only for any Email Template that is setup, a blank box will display for those Email Templates not configured for Vis.