Contextual Data Viewer Tabs
The Contextual Data Viewer Tab Set is a built-in feature of the pre-configured Screen Flow, offering six ready-to-use tabs right out of the box (OOTB).
The Tab Set component doesn’t have a body; it only represents the tabs and manages visibility controls and the order in which the tabs are displayed. Thus, it functions independently of the data shown under each tab, with the body configured separately.
The Tab Set component doesn’t contain a body; it solely manages the tabs, controlling their visibility and display order. As a result, it operates independently of the content within each tab, which is configured separately.
Add New Tab
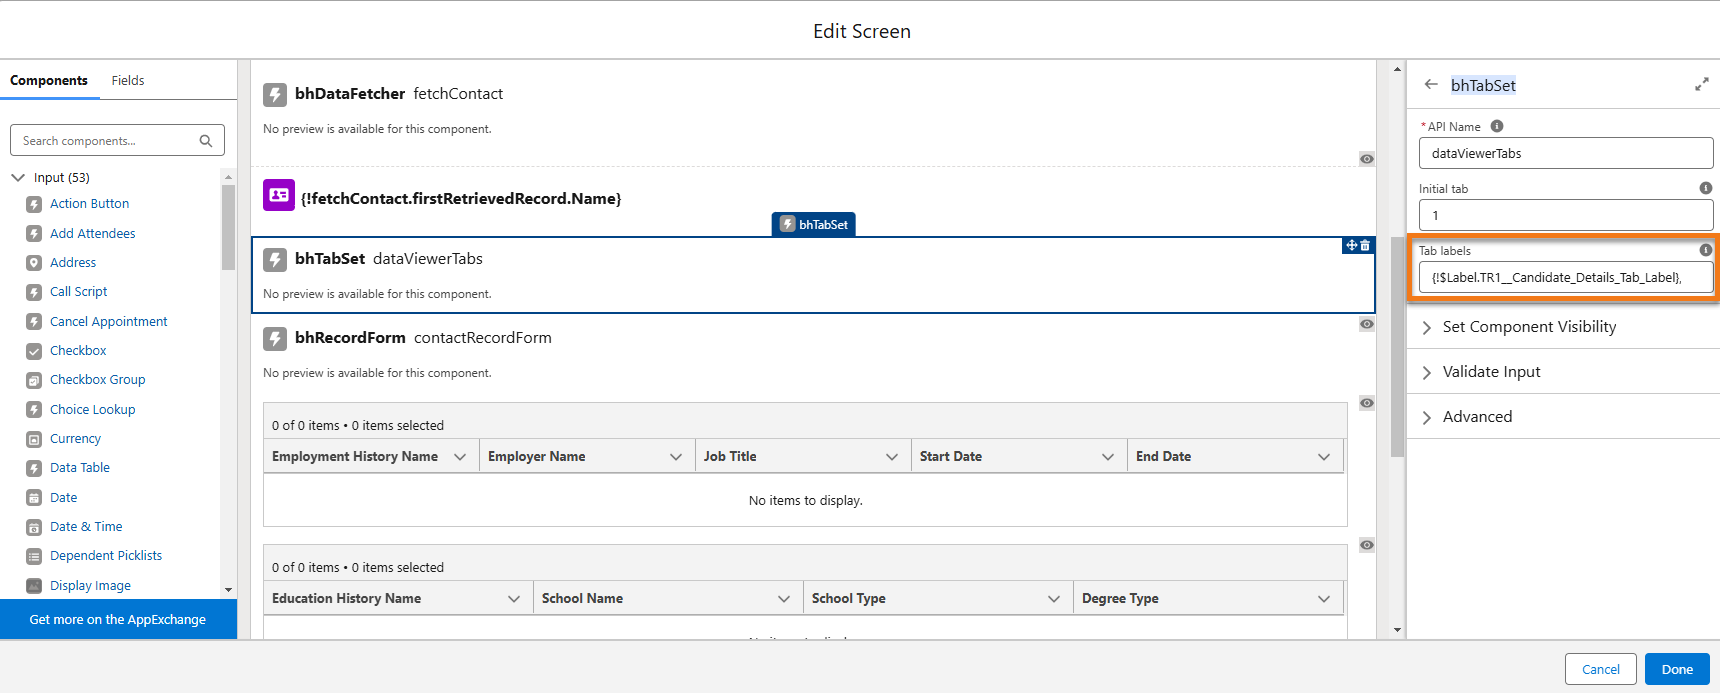
To create a new tab in the Tab Set component, the User simply needs to add a Custom Label or Text followed by a comma into the Tab labels property.
-
Select the bhTabSet dataViewerTabs component in the middle section of the Edit Screen page
-
In the Tab labels field on the right you will see the labels of the six out-of-the-box tabs. You can add a tab using any of these formats:
- {!$Label.Candidate_Details_Tab_Label},{!$Label.Employment_History_Tab_Label},{!$Label.Education_History_Tab_Label},{!$Label.Application_History_Tab_Label},{!$Label.Documents_Tab_Label},{!$Label.Power_Notes_Tab_Label},{!$Label.NEW_TAB_LABEL}
- {!$Label.Candidate_Details_Tab_Label},{!$Label.Employment_History_Tab_Label},{!$Label.Education_History_Tab_Label},{!$Label.Application_History_Tab_Label},{!$Label.Documents_Tab_Label},{!$Label.Power_Notes_Tab_Label},New Tab
- Candidate Details,Employment History,Education History,Application History,Documents,Power Notes,New Tab
Salesforce Issue Affecting Tab Set Component
The Tab Set component functions smoothly with the out-of-the-box configuration. There are six unprotected custom labels within the package, which are utilized for tab labels and are translatable.
Resolving Flow Errors
If a user attempts to modify these tab labels or add a new tab, they may encounter the following error in the Flow:
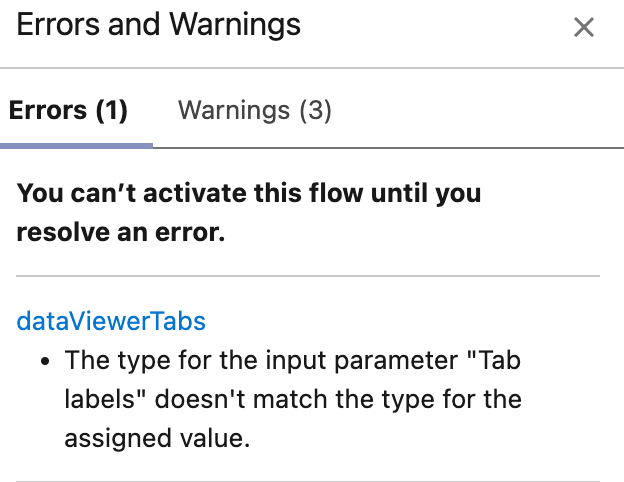
To resolve this issue, create new custom labels (unpackaged) and use those within the Flow.
This is an example of the format to be used in the Tab labels field:
-
Translations Required: {!$Label.Candidate_Details_Tab_Label},{!$Label.Employment_History_Tab_Label},{!$Label.Education_History_Tab_Label},{!$Label.Application_History_Tab_Label},{!$Label.Documents_Tab_Label},{!$Label.Power_Notes_Tab_Label},
-
Translations Not Required: Candidate Details,Employment History,Education History,Application History,Documents,Power Notes
Each segment of a string, separated by a comma, is treated as one tab.
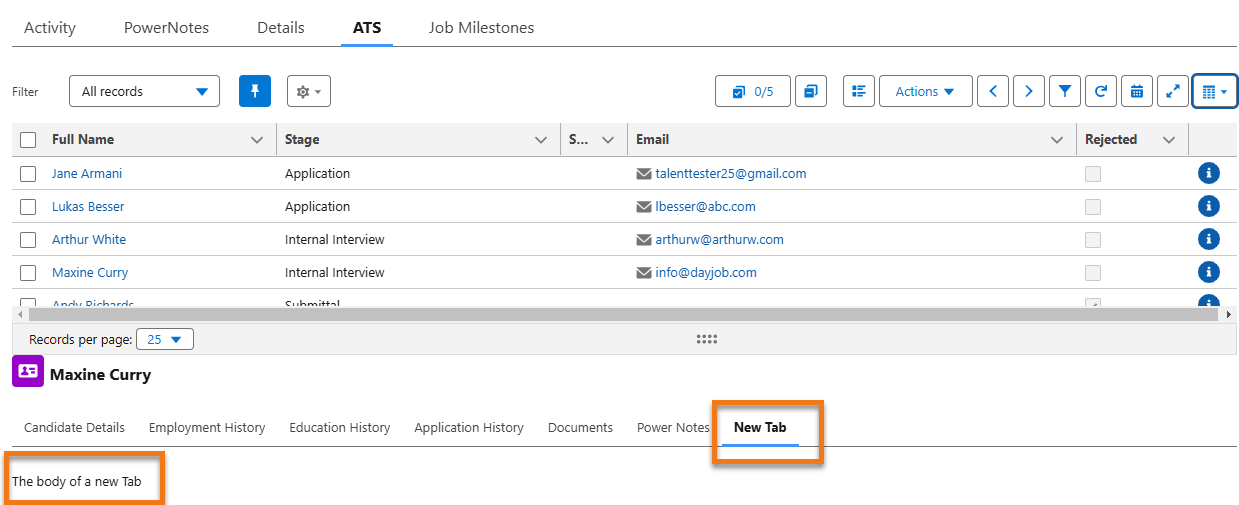
Add Body to a Tab
The Tab body offers complete flexibility, allowing users to configure any Standard or Custom component as needed.
To add the body to a new tab, the user must specify the visibility settings for the component or components they wish to display under this tab in the appropriate parameter. The only rule is that the component for the Tab Body should be added below the Tab Set component.
To better understand this, follow along with the below example:
-
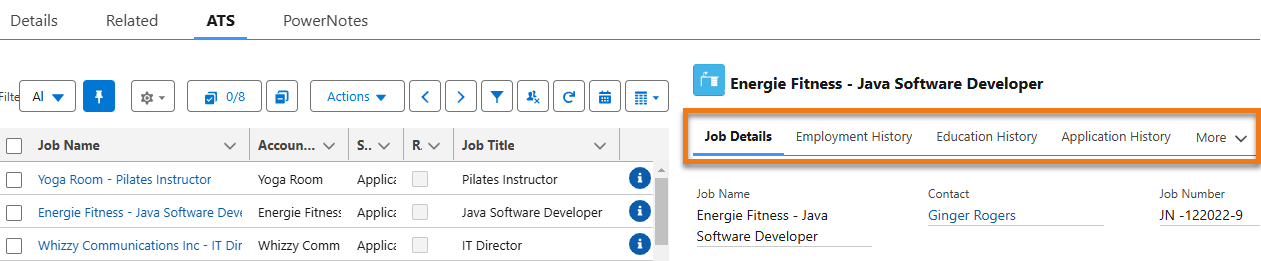
Pick for example the ATS Job Contextual Data Viewer (Below ATS) flow and select the bhTabSet dataViewerTabs component in the middle section of the Edit Screen page.
-
On the right hand side, add the label for a new Tab (label this "New Tab") to the existing labels in the Tab labels field, as explained before.
-
Candidate Details,Employment History,Education History,Application History,Documents,Power Notes,New Tab
-
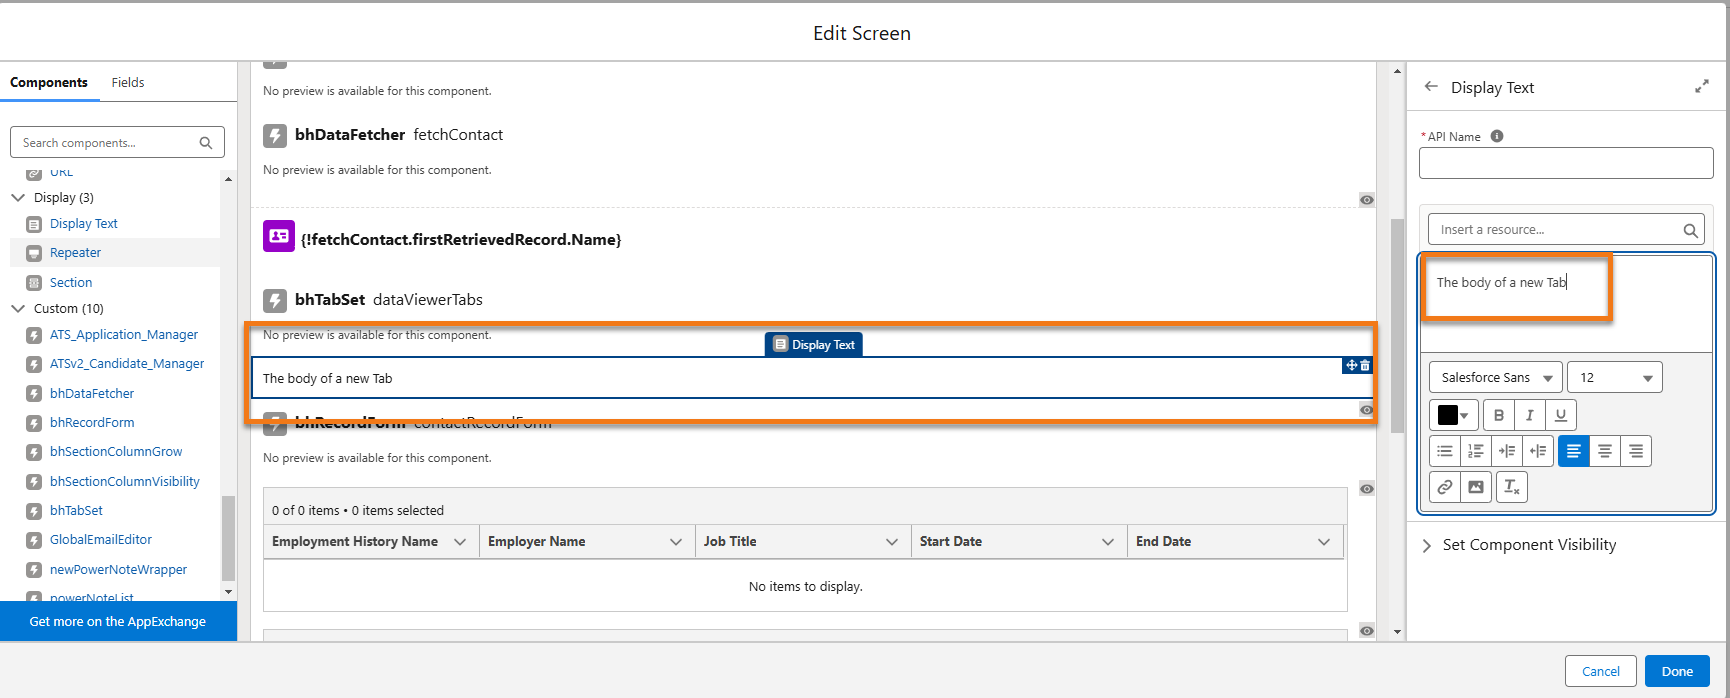
Add the Body of the New Tab
In this example, we will just add a Display Text component with some sample descriptive text, but it could be any component or set of components.
It does not matter where the Display Text is positioned within the middle section of the Edit Screen page.
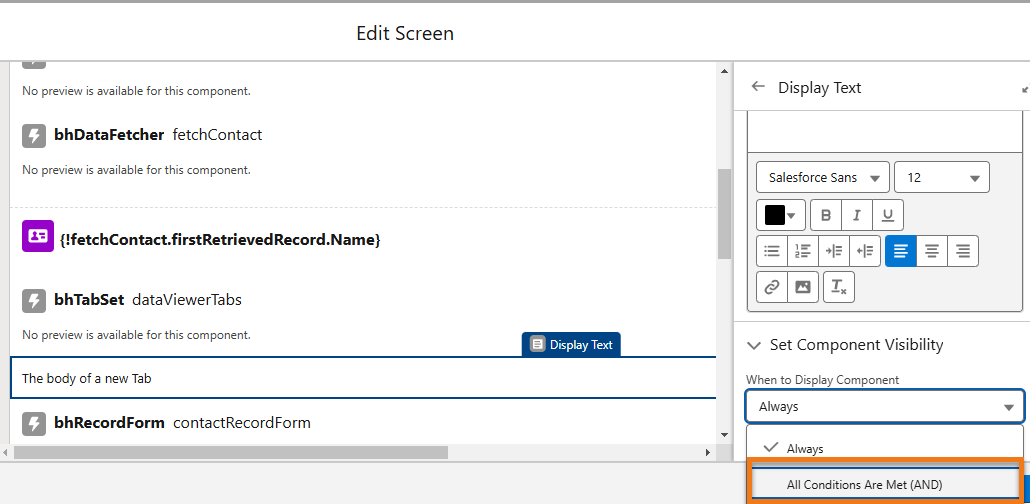
Set Component Visibility
- For this example, we will choose All Conditions Are Met (AND).
-
Outcome: After making this selection, a smaller modal appears to the left of the visibility dropdown.
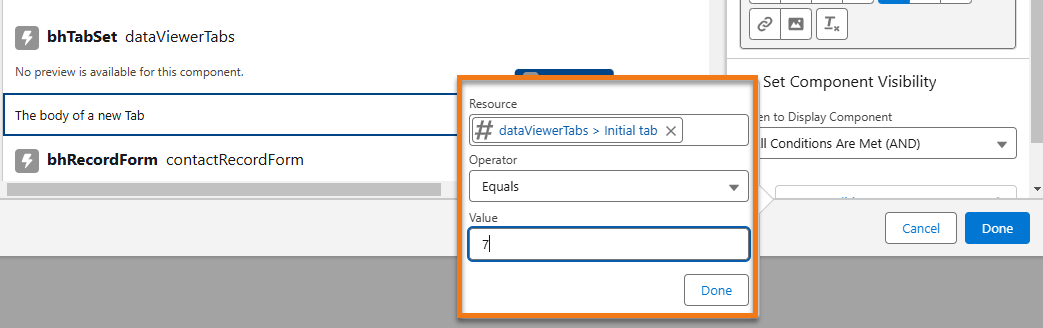
- In the Resource field, select first {!dataViewerTabs.} , then activeTabIndex.
- In the Operator dropdown, select Equals and in the Value field, enter "7"
-
Outcome: You have defined the position of your new tab and its body in the Tab Set. Remember that the Tab Set has six tabs OOTB.
Complete the Configuration
-
In the API Name field for this Display Text component. enter a name for the tab (EX: "New Tab Test".)
This is just for internal use and will not be shown on the UI.
-
Save your configuration by clicking on Done on the bottom right corner of the Edit Screen.
-
Save as new Flow and activate it.
-
Best Practice: Go to the ATS component on a Job record where ATS Job Contextual Data Viewer (Below ATS) is configured, and view the new tab.