| Package: TimeCards |
How to Add Your Logo to the Invoice Email Template

How to Add Your Logo to the Invoice Email Template
There are 2 parts to adding your logo to the invoice email template. Editing the HTML template directly requires knowledge of HTML coding but you may be able to use an HTML Editor if you are not familiar with HTML coding.
-
Add your logo to the Document Library
-
Edit the template to point to your logo
Add Your Logo to the Document Library
You will need to add a logo to the Document Library that will be referenced in the email template. Here are the steps for this.
-
Go to the Documents tab and click the New button.
-
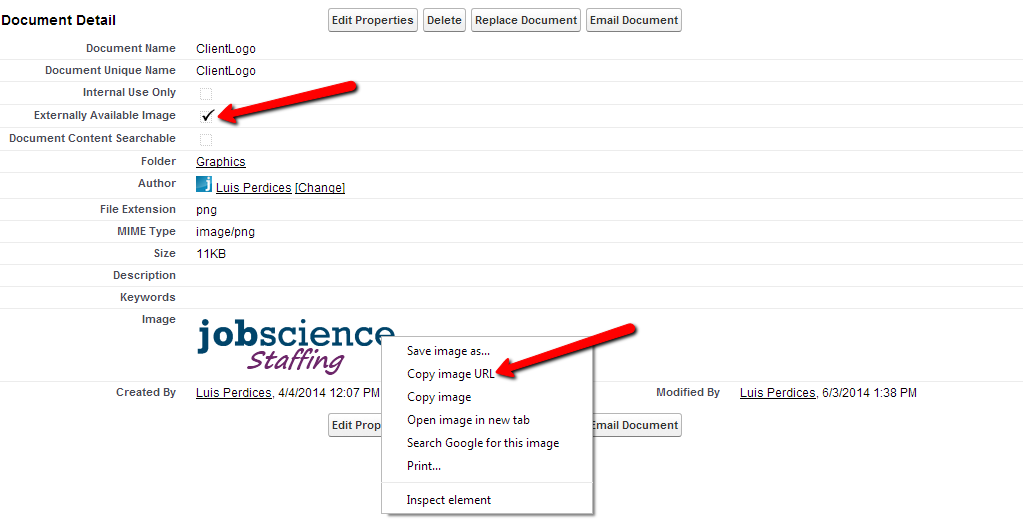
Upload your logo and set it to be externally available.
-
After you save, hover on the logo and right mouse click it, then copy the image URL.
-
Save the image URL (in Word or notepad for example) as you will need it to edit the HTML template.

Edit the HTML Template
Now you will need to edit the HTML template that is used for invoicing to point to your logo. You can edit the HTML directly or copy the code into an HTML editor to make the changes. Jobscience recommends copying the code into Notepad and saving a copy of the original version of the code before making any changes.
-
To find the template go to Setup and search for email.
-
In the Search results that appear click My Templates.
-
The template is in the Billing and Commissions Folder and is named Invoice Notice - Perm.
-
Click the Edit HTML Version to see the code and make the edits directly in the template and save.
OR paste the code into an HTML editor, make the changes, paste the code back into the template and save.
There are a number of HTML editors available on line. Here is a popular one: http://htmleditor.in/index.html