| Edition:Growth, Corporate, Enterprise | Audience: Target Admin |
Setting Targets in OnPoint
This article explains how to set and edit targets for users in OnPoint.
Setting Targets in OnPoint is one of the most efficient methods for creating or amending targets, especially if you are updating targets for multiple users / groups where the values are different. You can use OnPoint to visualise multiple groups/users in a single report, easily traversing between them to undertake targeting actions whilst having visibility over current target performance or where targets may be missing. It is a great tool for checking that all users have suitable targets set, in line with their abilities and priorities.
You can also set targets in Targets Admin and OneView.
Set or Edit a Target
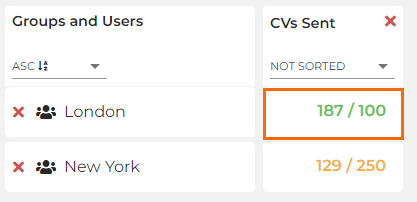
- Once you've run the OnPoint report, click on a results cell to choose the user and metric to set/edit a target against.
- Once the clickthrough has opened, click on the Targets tab.

- You can then add, edit, and delete targets in the same way as in OneView. See Setting and Editing Targets in OneView for more detailed steps.
You will need to reload the OnPoint report to be able to see the updated targets.
Update Targets for Multiple Users
Follow these steps if you are updating multiple users' / groups' targets where the values are different:
- Add the users / groups and metrics you want to set targets against using the options along the top of the page.

- Click on the metric for the user / group you want to insert / edit a target for.
- Go to the Targets tab along the top.
- Click Edit Targets and make your changes.

- Click Save Changes.
Repeat these steps for additional users / groups that you want to update targets for.