| Edition:Growth, Corporate, Enterprise | Audience: Target Admin |
Setting and Editing Targets in OneView
This article explains how to set and edit targets for users in OneView. You can also set targets in Targets Admin and OnPoint.
Set a Target
- Navigate to the OneView page belonging to the required group or user.
- Click the metric you wish to set the target against.
- Once the clickthrough has opened, click on the Targets tab.

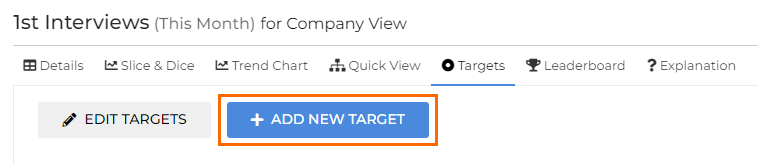
- Click Add New Target to open the target config.
- Set the target value, choose the period, and (if wanted) make the target a priority by clicking the star.

- In addition to the start date, you can enter an end date and a free text note if required. This note is only visible to other target admins and cannot be seen by users who do not have this permission enabled.
- Click Add to save your new target.
Edit or Delete a Target
Editing a target will change its history. If you want to increase or decrease an existing target, create a new target to supersede the previous one. Deleting a Target will erase its history. Typically, you should only use this option if you have created a target with an error.
- Navigate to the OneView page belonging to the required group or user.
- Click the metric you wish to edit / delete a target against.
- Once the clickthrough has opened, click on the Targets tab.
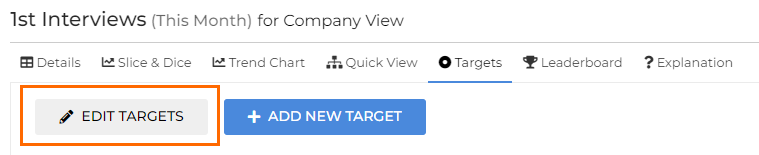
- Click Edit Targets.
- Click into any of the fields against a target to edit them, or click the red cross to delete a target.
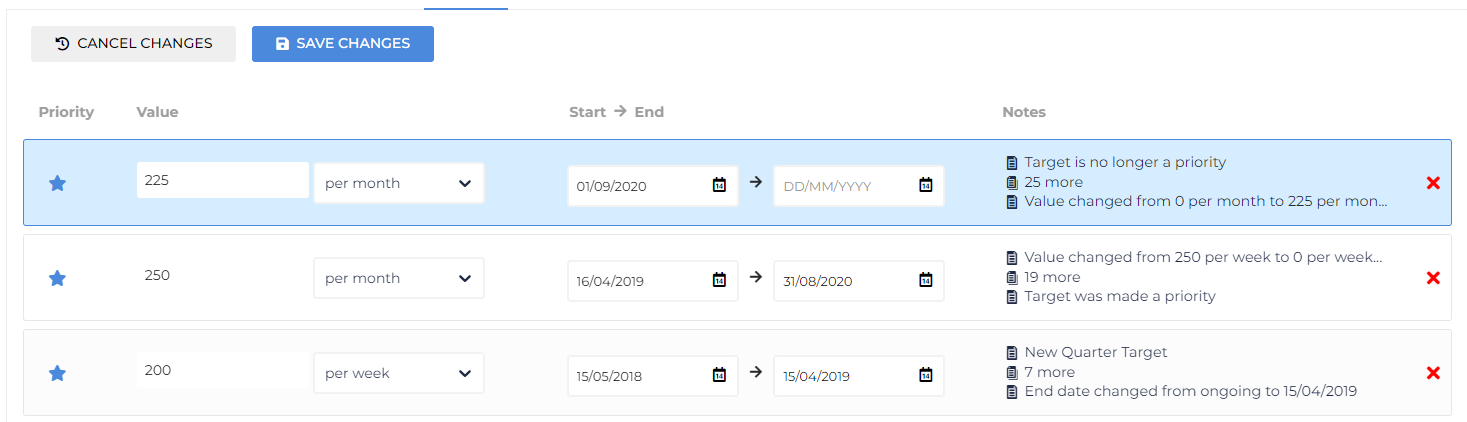
- If you select to delete a target, a notice will appear to inform you that this will permanently delete the target. If you are happy to proceed, click Yes.
- Click Save Changes at the top of the window for your edits / deletions to take effect. Clicking Cancel Changes will undo any unsaved changes, allowing you to start over.

Was this helpful?