Adding a Dynamic Date Range Prompt
In Bullhorn Reporting (previously Canvas), you can create reports with prompts to allow users to select from a given set of date ranges. For example, Next 7 Days, Next 14 Days, etc. 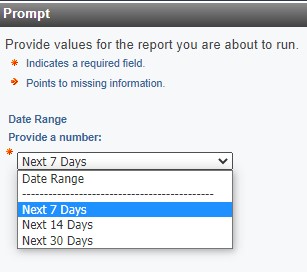
You must create a list report before following the below instructions.
Steps
Building a Prompt Page
Begin by creating a prompt page to hold the options you want your report to have.
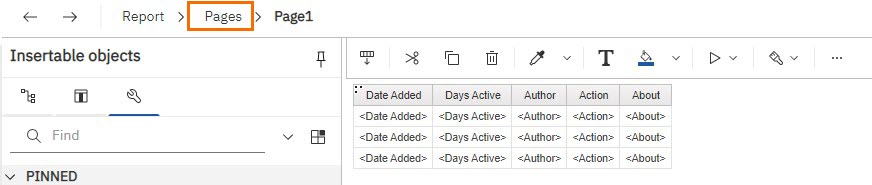
- Open Page Explorer by clicking Pages at the top of your Canvas Studio.
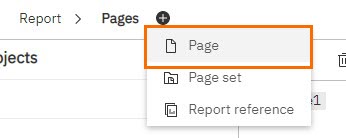
- Click Add > Page to add a new page.
- Open your new blank page and click the three dots on the tool bar.
- Click Build Prompt Page.

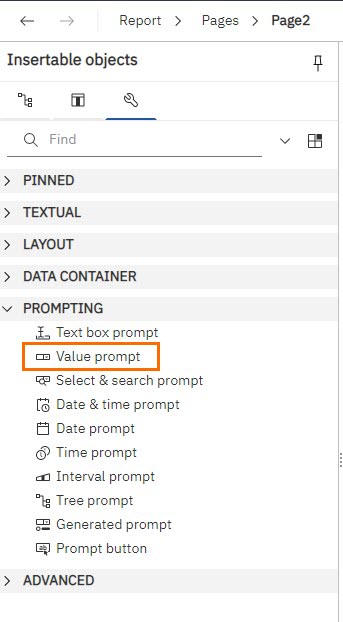
- From the Toolbox, double click Value Prompt to add it to the page. This prompt type allows you to input your own options.
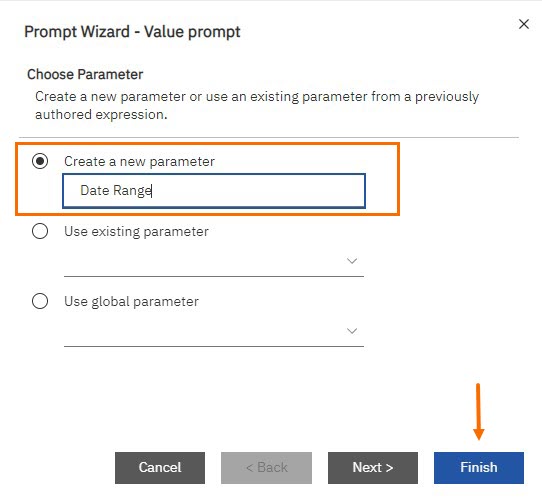
- The Prompt Wizard - Value Prompt window will open. In the Create a new parameter field, give your parameter a name.
- Ensure you remember the name. You will need it later.
- For example, “Date Range”.
- Select Finish.
Defining the Options
Follow the steps below to tell the prompt what options it should display.
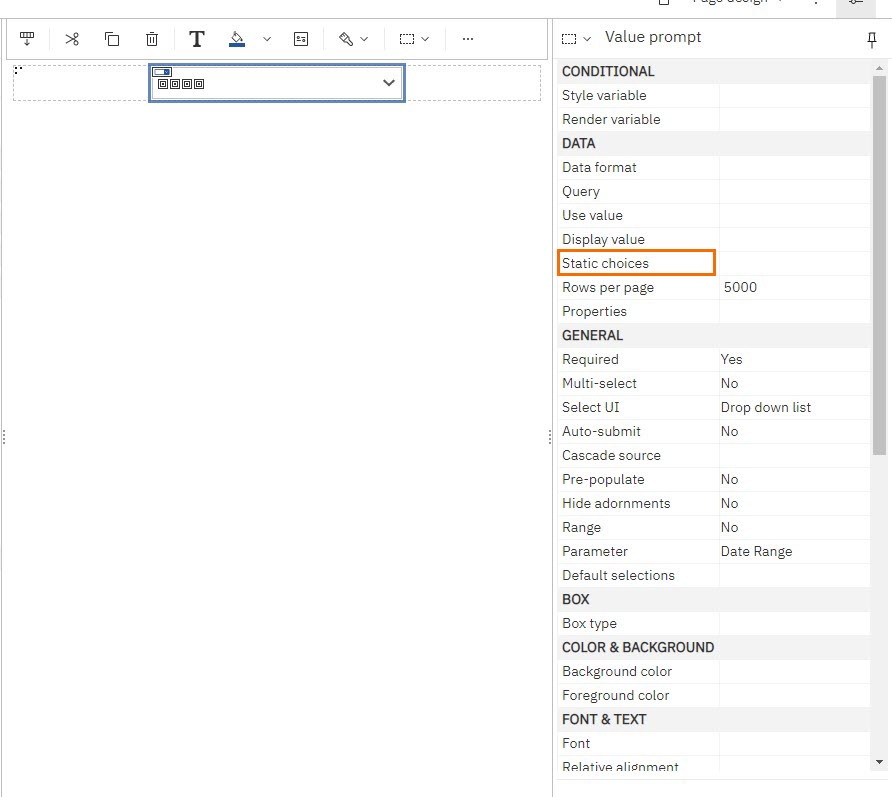
- Single click the value prompt to highlight it.
- On the right side of the screen scroll down to the Data section and double click Static Choices.
- Static Choices is used to define the values as you want them to appear on the prompt.
- Static Choices is used to define the values as you want them to appear on the prompt.
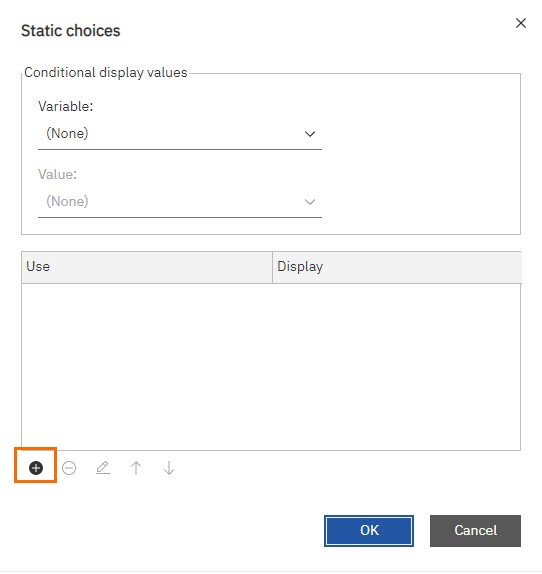
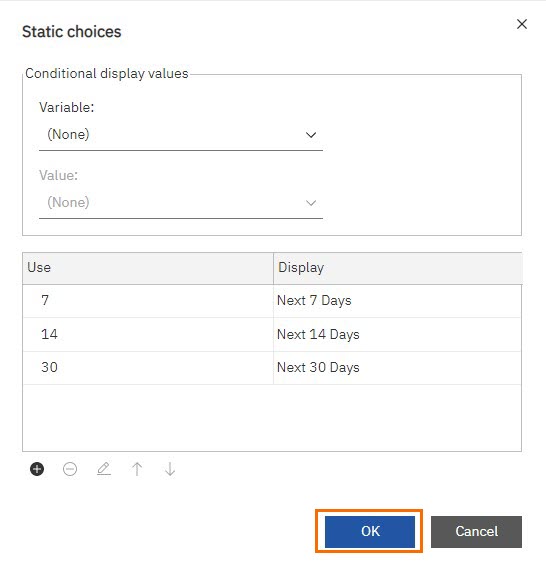
- The Static Choices prompt window will open. Select the Add button to access the Edit screen.
- In the Use field enter “7” and in the Display field enter “Next 7 Days”. Click OK.
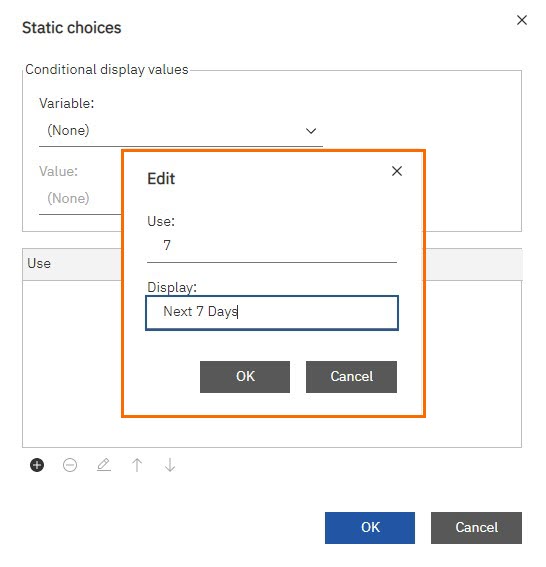
- Repeat this for 14 and 30 days respectively and click OK.
- You may use any number of whole days you desire. For example, if you want to use “Next Quarter” input “90” in the Use field.
- You may use any number of whole days you desire. For example, if you want to use “Next Quarter” input “90” in the Use field.
- Select Page from the top of the Studio to return to your page list view.
Applying a Filter based on the Option Selected
Next we are creating a filter that will affect the returned report based on the chosen value in the prompt.
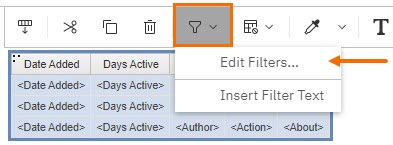
- Select the Filter button and choose Edit Filters....
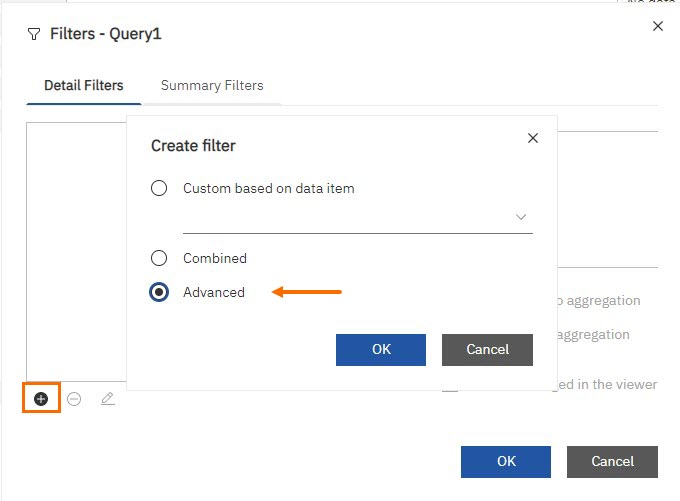
- Select the Add button and choose Advanced. Then click OK.
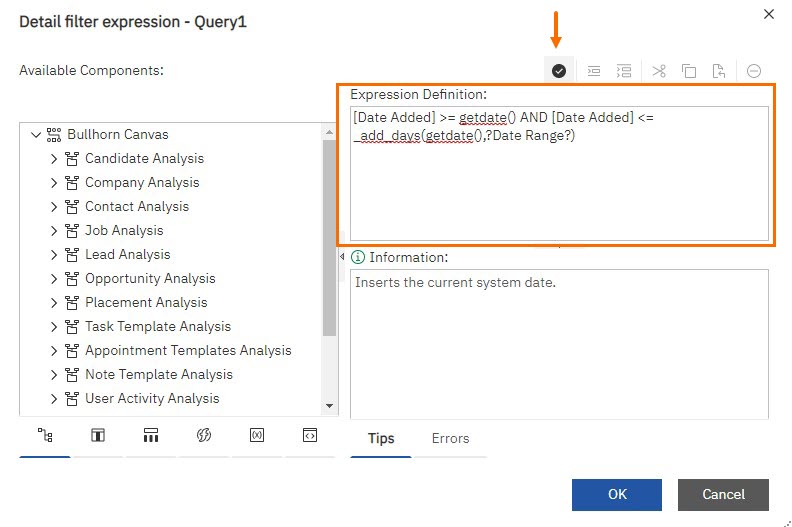
- In the Expression Definition field, type in the following expression:Copy
[date placeholder] >= getdate() AND [date placeholder] <= _add_days(getdate(),?parameter?)- Query Definition: This expression is telling to look for days between today’s date and the value chosen on the prompt.
- Replace both instances of [date placeholder] with the desired date field. For example the Date Added field.
- Replace ?parameter? with the name of the parameter you created in Adding Prompts in Bullhorn Reporting (Previously Canvas). For example, ?Date Range?.
- Query Definition: This expression is telling to look for days between today’s date and the value chosen on the prompt.
- Select the Validate button to validate the expression and then select OK twice.
You have successfully added a dynamic date range to your report. You will see the drop down prompt when you run the report.
Was this helpful?