Cloud Clock Installation Guide
Overview
This article contains information on how to install the Cloud Clock.
Steps
- Unlock the protective casing using the combo code.
- Please contact Support for help with your code.
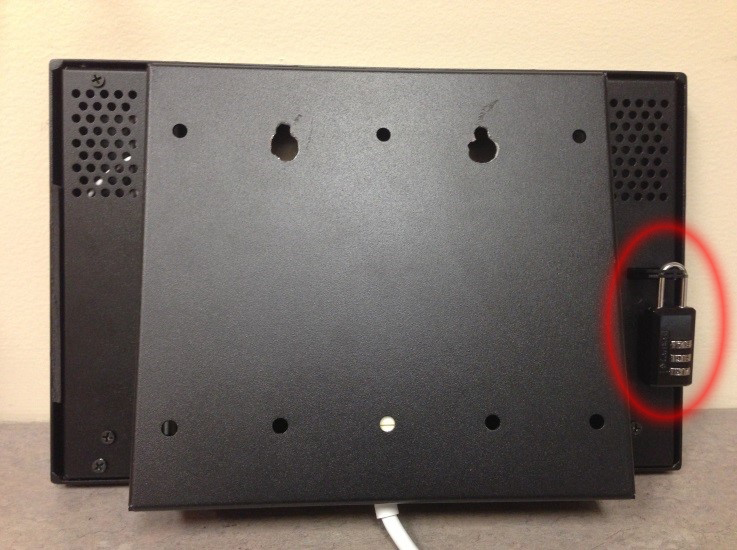
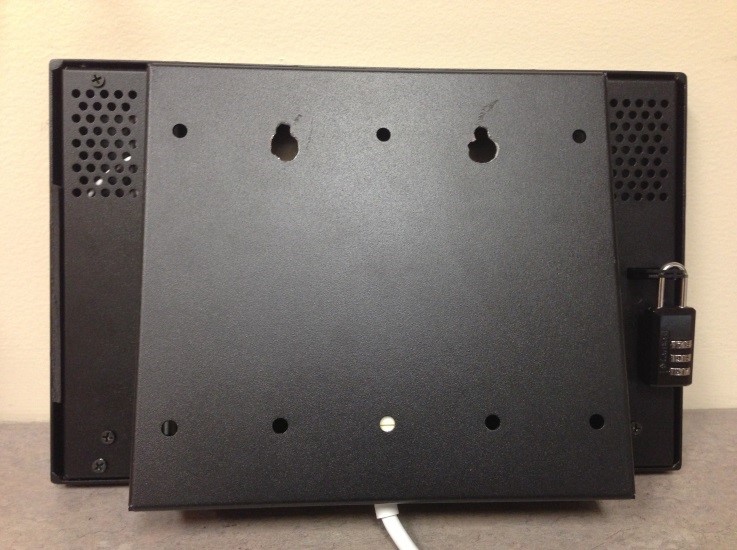
- Separate the protective casing from the top left hand corner without applying pressure to the clock.
- Press and hold the Power button located on the top left hand corner of the clock until the screen lights up.
- Close and lock the protective casing.
- Drill holes in the wall (3 ½ inches apart), insert anchors, and hang the clock.
- Plug in the power cord.
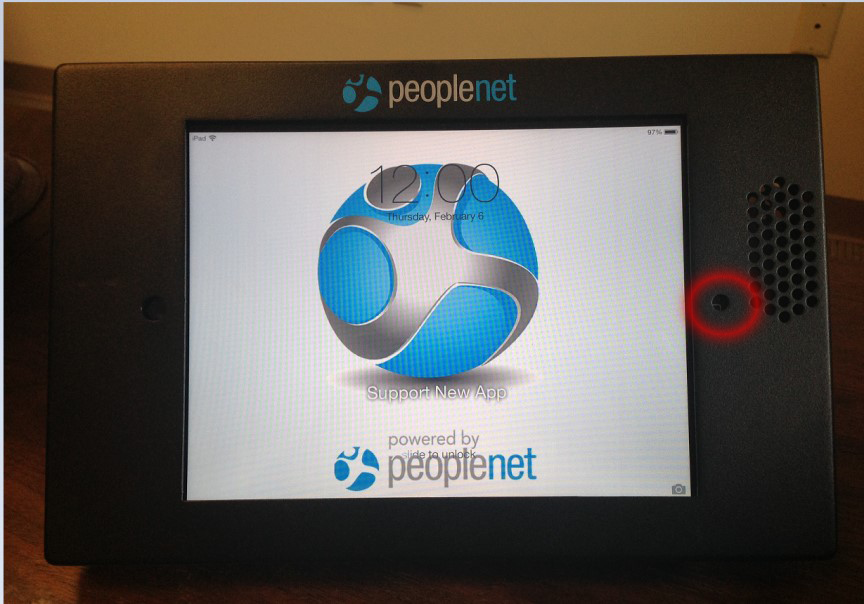
- Use a pen or straight object to press the Home button located inside the protective casing.
- Unlock the screen by swiping to the right.
- You should now be on the home page.

If your clock will connect to a cellular network (AT&T or Verizon), please verify cell coverage and skip directly to Step 15.
- You should now be on the home page.
- Open the folder in the upper left of the home page.
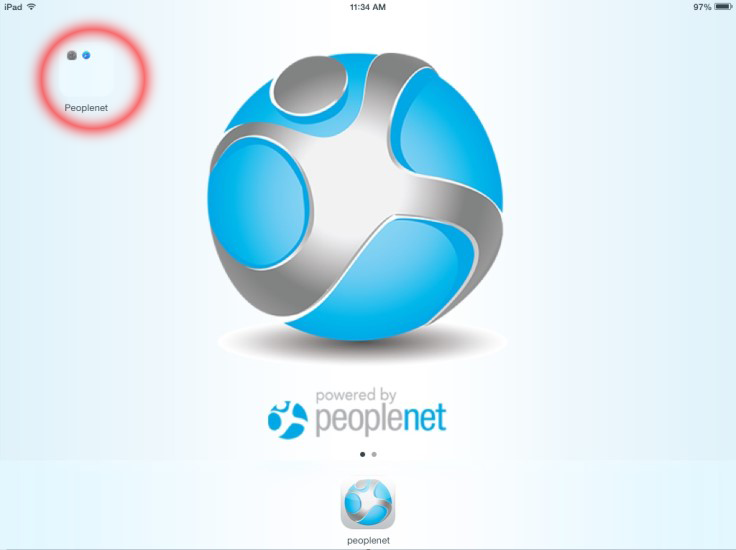
- Select Settings to setup Wi-Fi.
- Touch Wi-Fi on the left then select the correct network name and follow the prompts to connect.
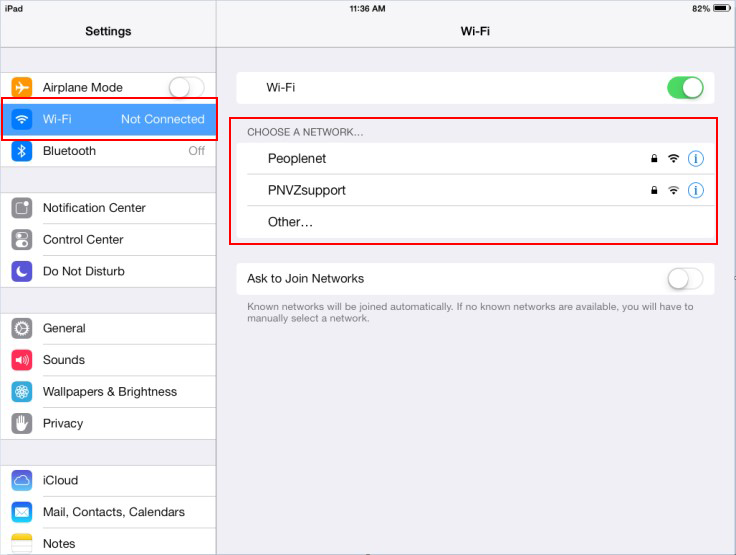
- Once connected to the network, a blue check mark will appear to the left of the network name.
- Confirm that the iPad is connected.
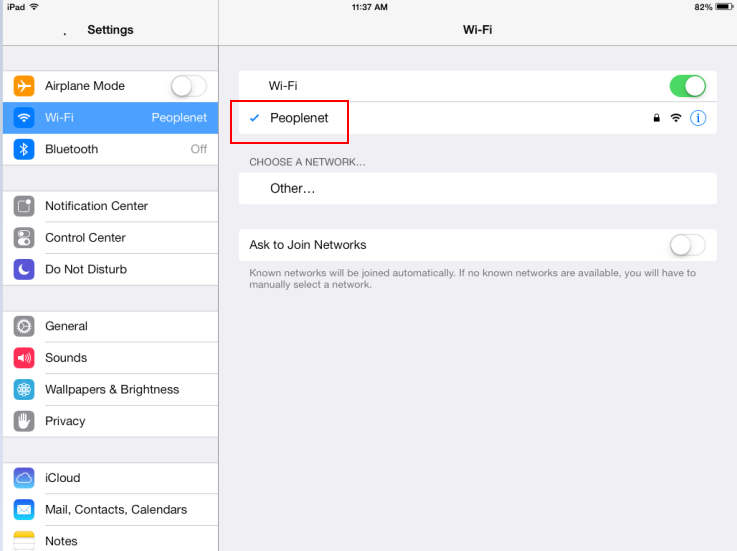
- After connecting to the Wi-Fi network, press the Home button once to exit Settings.
Press the Home button again to return to the home page - Tap the Peoplenet Cloud Clock app
 towards the lower part of your home page to launch.
Was this helpful?