UDF Entry (User Defined Fields )
User Defined Fields are a feature in Web Time Entry. If you are required to use User Defined Fields (UDF), your agency has determined that you must record details on a custom set of values associated with your time for each day.
For example: You may have worked a total of 8 hours on your assignment, but your agency requires that you enter the number of cost center hours, record the total sales associated with your shift, enter the number of specimens collected, or more. UDF entries can vary depending on your individual setup.
According to your company's configuration:
- Different fields may be required while others are optional.
- The fields may require that the values are less than or equal to the hours worked.
- The fields may not require a specific value range.
To understand what you are required to enter, the system will give you an alert for your company’s specific requirements upon entry.
Follow the steps below to enter UDFs:
- Open the Time Entry window by clicking in the timesheet cell that corresponds to the assignment and day that you worked.
- Enter the total hours worked for the day in the Hours field.
- Your company’s UDFs will be listed below the hours entry area. Enter the appropriate information in the fields provided. The total hours entered in the UDF section must match the total hours entered in the hours worked fields.
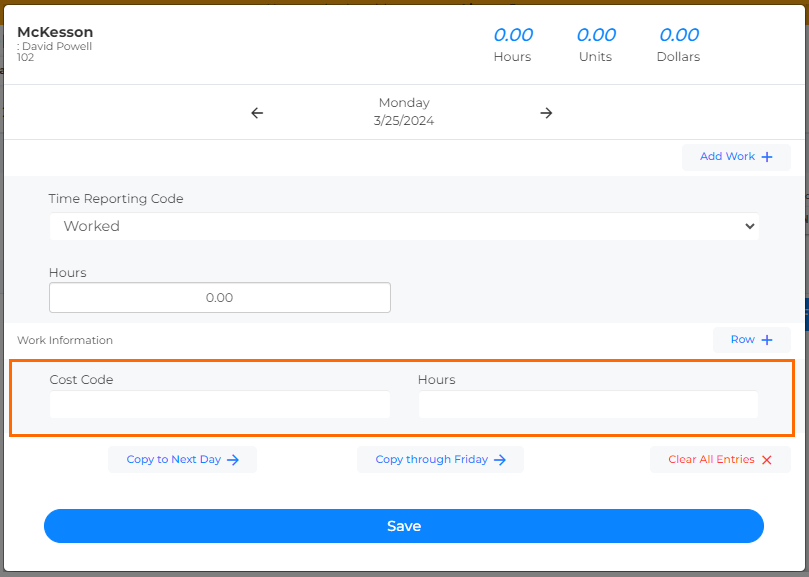
- Use the following buttons to edit your time:
- Add Work: Adds another line to enter more hours for the day.
- Add Meal: Adds a meal line with Out and In fields to record any unpaid meal breaks.
- Manage Projects: Allows you to manage the projects you're entering time for.
- Add Project: Allows you to add a new project to enter time for.
- Copy to Next Day: Copy the time from the day you're on to the next day.
- Copy through Friday: Copy the time from the day you're on to everyday thorough Friday.
- Clear All Entries: Deletes all time entries.
- Click the arrows next to the date at the top of the window to navigate between days.
- When you are done entering your time and UDF information, click Save to close the window.
- To add a comment to your timesheet for your approver to view, click the Comment button and enter your comments in the pop-up window.
- When you've finished filling out your timesheet for the whole week, click Submit.
Was this helpful?