Candidate Scoring - Invenias Web App
Overview
This article contains information about Candidate Scoring. Scoring is a powerful feature which allows an Invenias User or Client User to score a Person using unique, fully customizable assessment criteria.
Candidate scoring can be used to assess a person on an Assignment specific basis (Candidate Scoring).
By determining a list of key assessment criteria (Scoring Metrics) which all people can be scored against, a company can form a consistent approach to assessment across all users. It can additionally be used to set out the specific unique requirements for a role in every Assignment.
Candidate scoring is configured on a per Assignment basis by either adding metrics which are in regular use from a shared library of metrics, or by creating new metrics solely for each Assignment.
This article covers:
- Configuring Metrics on an Assignment
- Adding a Candidate Score
- Viewing a Candidate Score
- Viewing Average Scores
- Editing or Deleting a User's Score or Comments
- Enabling & Configuring Candidate Scoring
Configuring Candidate Scoring on an Assignment
Candidate Scoring Metrics are configured on a per Assignment basis.
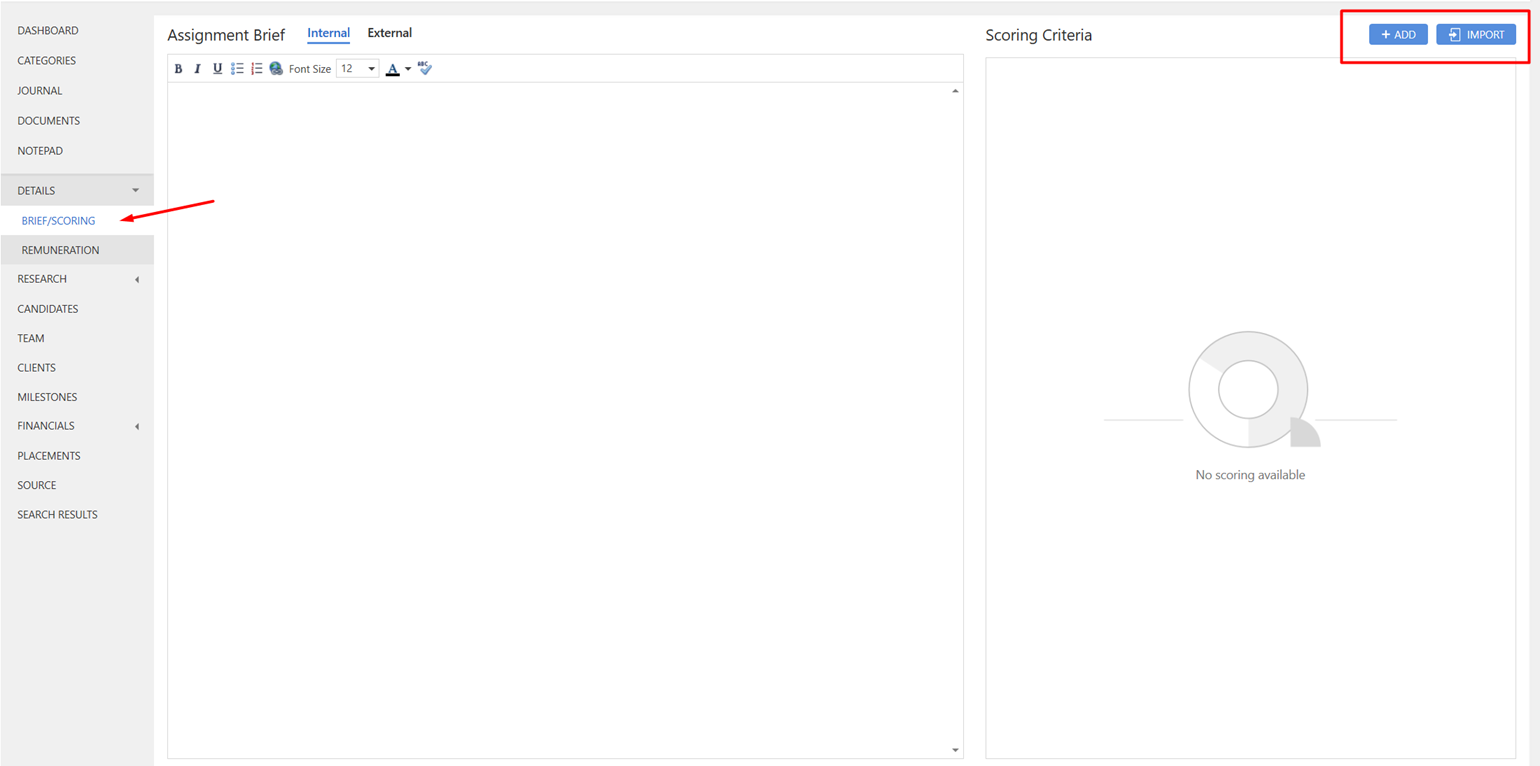
Open an Assignment Record and Click on the Details tab before selecting IMPORT (if you looking to use one of the Scoring Metrics stored in your Library) or ADD (if you are looking to create Scoring Criteria manually.
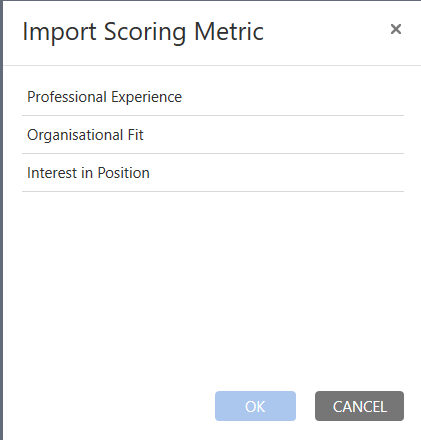
The IMPORT option will open the Import window and from this list you can select one or multiple Metrics to add using the Ctrl key on your keyboard:
Clicking ADD will allow you to manually define the criteria for each Scoring Metric
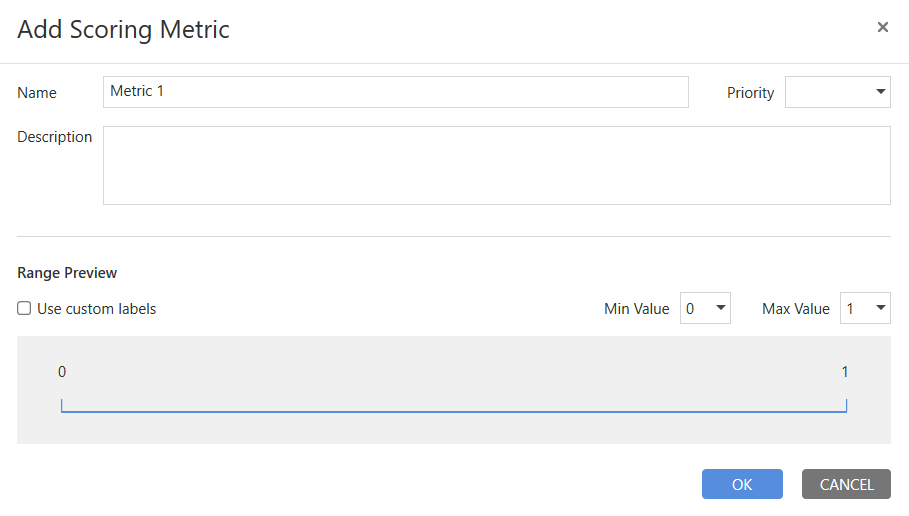
You can the Name, Priority, Description and Scoring Range (Min and Max Value) as well as configure the Scores as Custom Values.
The Min/Max value allows a user to specify the range for the assessment. This can be set from 0-10 and the Max Value must always be greater than the Min Value. For this Metric we will only require a range of 2 increments so the Min/Max values have been set at 0-1.
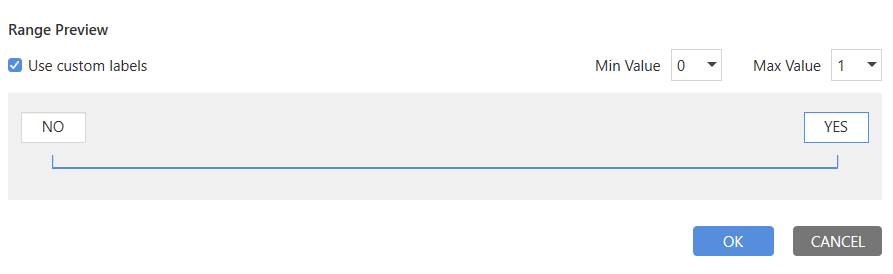
In addition to scoring from a numerical range e.g. 1-5, you can also choose to Enable Custom Labels for the values in the scoring range. With this option selected, the labels for the score are changed to editable free text, allowing any unique value to be entered by clicking into a label in the Preview/Edit Labels section.
In the example below, a metric has been created for an assessment which only requires scores of NO/YES. The Min value has been set to 0 and the Max Value of 1 with Enable Custom Labels checked, the labels on the 2 increments have been changed from 0 to NO and 1 to YES.
Any changes made to the metrics here will not affect the metrics in the metric library or in any other Assignments.
After configuring or importing your scoring metrics you can edit Criteria using the Settings Cog, you can re-order the Scoring Criteria by dragging and dropping the metrics or by using the Move UP / Move Down buttons. You can also delete a Scoring metric using the trash shortcut:
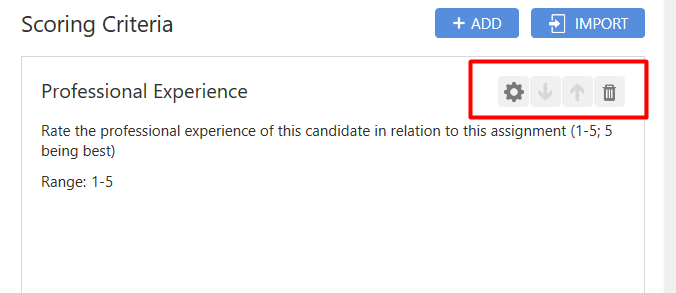
You can drag and drop the metrics to your preferred order and delete any unwanted metrics from this page.
Adding a Candidate Score
To add a Candidate Score, open an Assignment Record, click to the Candidate Tab, select a Candidate open the Scoring tab in the Profile on the right and click ADD A SCORE:
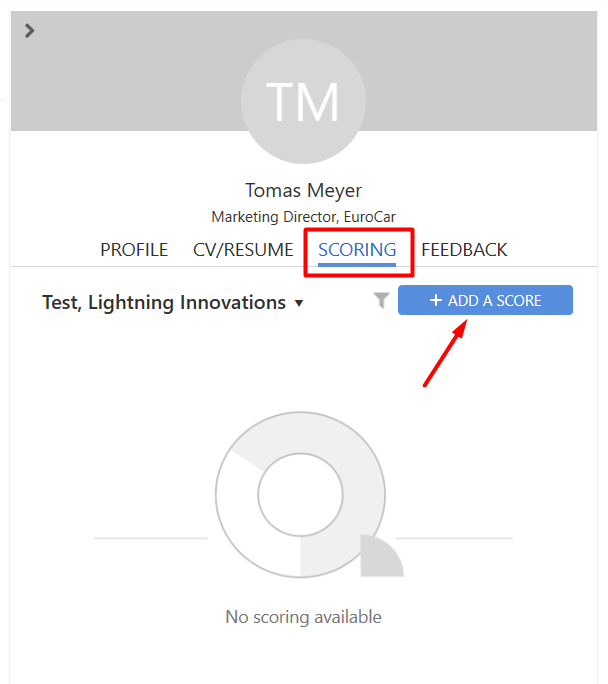
This will open the Scoring window with your configured Scoring Criteria in it:
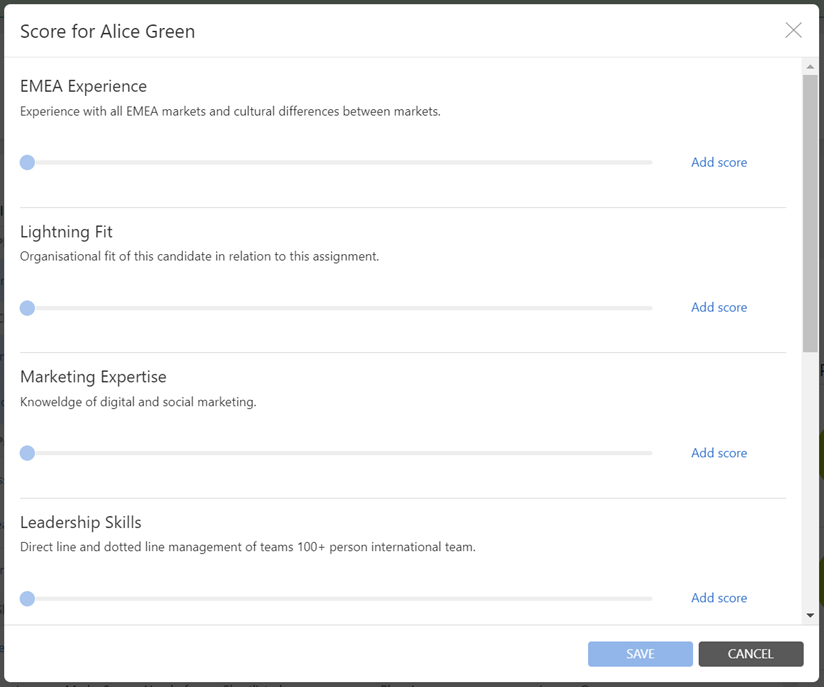
This window displays all metrics configured for this Assignment, using the order set for this particular Assignment. Clicking into a Metric with no score will activate the metric, allowing the User to click or drag the slider to their desired location. A User can also add a Comment to their score, to help to justify their scoring choice.
Click OK to save the score and close the scoring window.
Comments can also be left by tapping Add Comment.
Tapping into the Score From field allows you to Score on Behalf of another Invenias or Client User.
Viewing Candidate Scores
Expanding the Scoring Pane from the Candidate list in an Assignment will automatically open and display Candidate Scoring from the Current Assignment:

The Scoring Pane displays all enabled metrics with scores using the order set in system preferences. The metrics are displayed with a doughnut chart to graphically represent all scores left for the metric. The colour palette is set to indicate positive scores in Green, graduating to lesser scores in Red.
The legend displays the values displayed in the chart and the number of users to have left scores for each of the values.
Clicking into a metric title opens into a Master - Detail view:
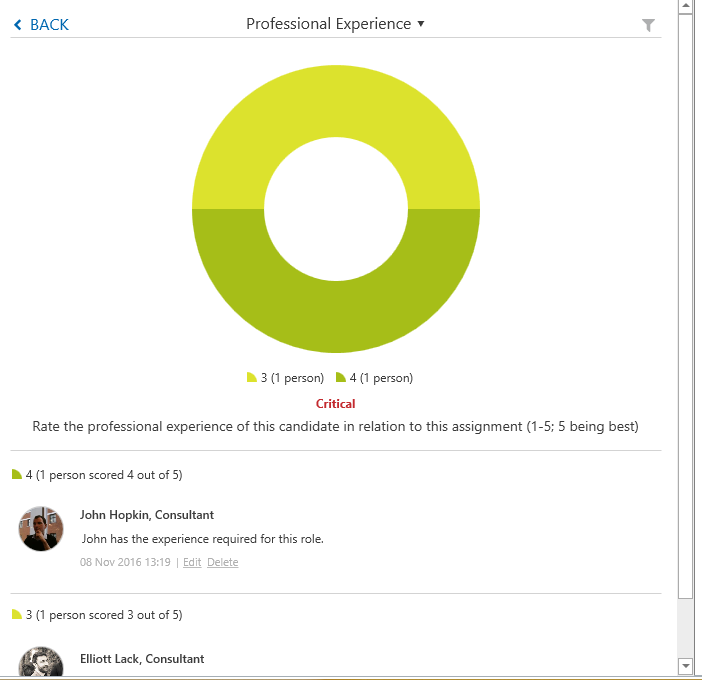
This view displays all scores from all users, along with any Comments they may have added.
Viewing Average Scores
You can also view the average score for Candidate scoring from the Candidate Tab in an Assignment by adding the relevant columns into the display view. Each enabled metric for Candidate Scoring in this Assignment will add a column into the column chooser which can be added into the display view.
These appear in the format Metric Name AV. SCORE. E.g. RECOMMENDATION AV SCORE.
These columns display a numerical value of the average score from all scores. This will also show an average score for metrics with custom text labels as a numeric value, as no average can be displayed from text values.
Editing or Deleting a User's Score or Comments
Editing Candidate Scores & Comments
An Invenias User is always able to edit & remove their own scores and comments from any location where they view a comment.
Enabling and Configuring Candidate Scoring
Professional Desktop
Candidate Scoring can be enabled and configured within System Preferences by navigating to Insight > Candidate Score, and checking the box as shown below:
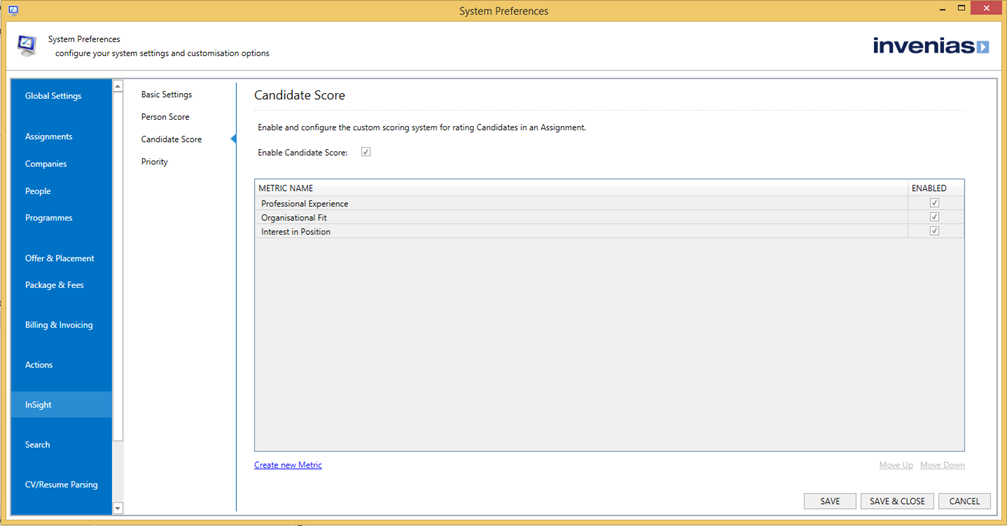
All metrics enabled for Candidate Scoring are displayed on this page. Individual metrics can be created, enabled/ disabled, edited and re-ordered on this page, identically to Person Scoring described previously.
With Candidate Scoring, the metrics saved into the metric library above can be added to an Assignment when configuring scoring, but an Invenias User can also create new metrics within an Assignment. Metrics added in the Assignment will not be added into the master list. We would advise to add commonly used metrics into System Preferences, as a time saving measure to avoid user's having to constantly add the same metrics manually whenever they configure Candidate Scoring on an Assignment.
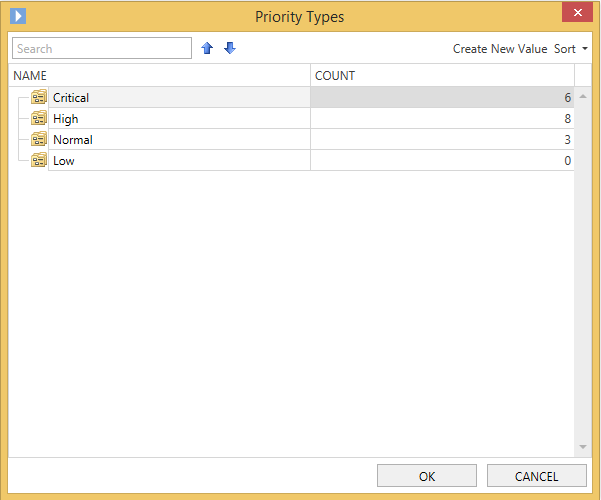
Configuring Priority Labels
Priority Labels can be used with Candidate Scoring as a guide for the importance (e.g Critical, High, Normal, Low etc) of each assessment criteria when scores are added. These can be enabled and configured within System Preferences by navigating to Insight >Priority, as shown below:
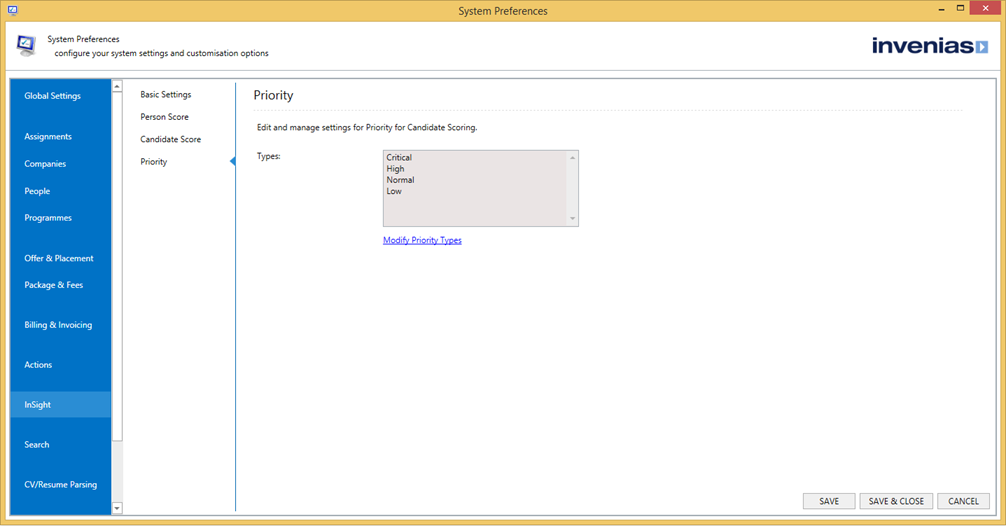
You can add/modify and re-order priority label types by clicking into Modify Priority Types: