| Package: Recruiting(JS2) |
Reporting on Short Lists
![]()
In order to export a Short List from Salesforce you need to leverage the Reporting functionality of Salesforce. First, you need a Short List to export. Then you may have to create a custom Short List report type. This only has to be done once in your org, so do look for a Short List Report Type. If you do not have one, please follow the instructions in the Creating a Short List Report Type Article to do so.
Once the Short List Report Type has been created:
-
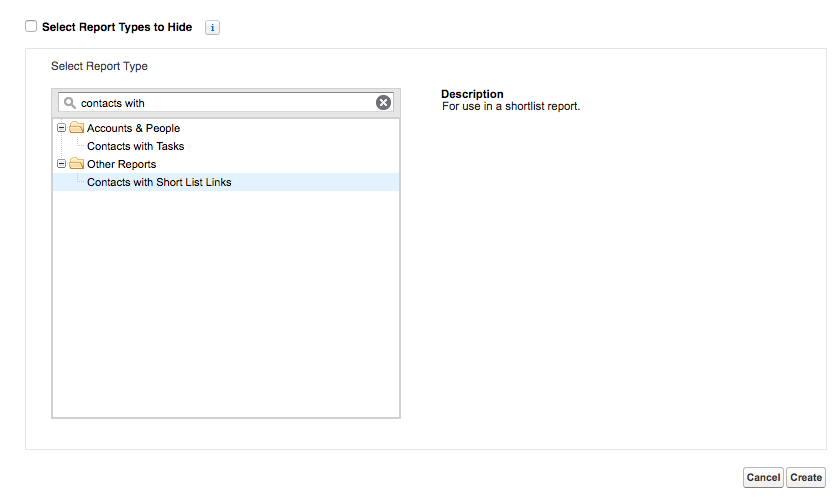
Go to the Reports Tab and create a new Report.
The type should be whatever your Short List Report Type is named; if you followed the instructions in How to Create a Custom Short List Report Type it is named Contacts with Short List Links.
-
Once you have selected the Report Type, the first thing you want to do is create a Filter on the 'User List: Name' Field.
It should be set to 'Equals' and you'll want to put the name of your Short List in the third box. -
Once you are finished click on OK to save the Filters.
-
With that filter in place be sure to open up the Filtering on the report completely.
So the 'Show' field should be set to 'All Contacts' and the 'Range' field should be set to 'All Time'.
These settings will give you a complete list of everyone on your short list. Feel free to add any extra Fields you wanted to see by dragging them from the left column into the Preview area of the screen.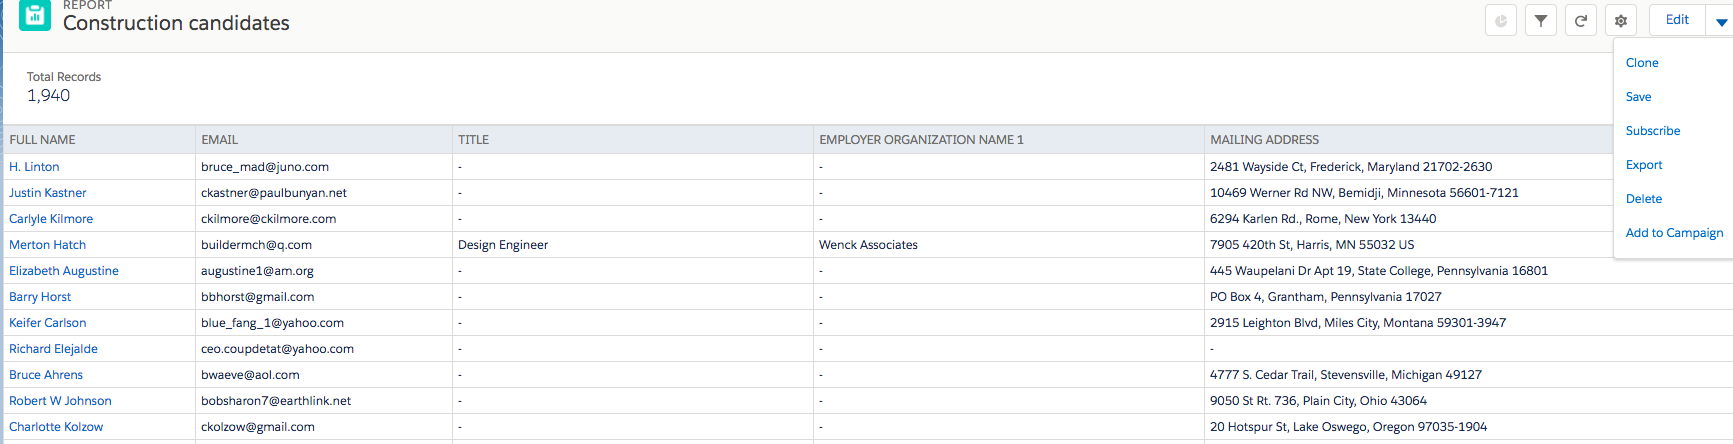
-
Finally 'Run' the Report (or 'Save and Run' if you are using Lightning ) and select either the 'Printable View' button (available only in Classic) or the 'Export Details' button to export the data in the Report to a either an .xsl or .csv file.