Add Wait Step
The Wait step lets you control the timing of your automation by adding delays between actions. It’s perfect for staggering messages, pacing workflows, and making sure everything flows smoothly.
How Wait Steps Work
Wait steps temporarily hold records in an automation for a specified duration. When a record reaches a Wait step, it simply pauses for the amount of time you’ve set, then continues on to the next step. This helps prevent messages from going out too quickly or piling up all at once.
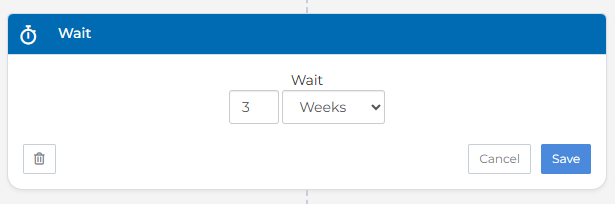
Supported Wait Durations:
- Minutes: 15, 30, and 45 minutes
- Hours
- Days
- Weeks
Key Details:
-
When using hours, days, or weeks as the duration, the system converts the time into minutes and holds the record for the calculated duration.
A wait step set for 1 hour holds a record entering at 1:00 PM until 2:00 PM. If the next step involves sending an email, processing time may delay the email's timestamp slightly (e.g., 2:05 PM).
Availability
You can use the Add Wait step in automations for the following record types:
CandidatesContactsJob SubmissionsJobsLeadsPlacementsCompanies
Adding the Add Wait Step
Place the Add Wait step at the desired point in your automation workflow.
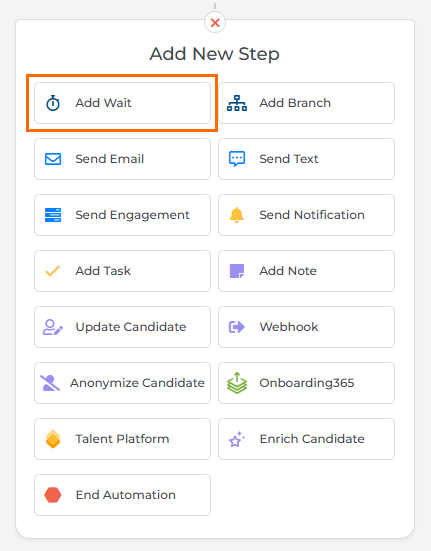
Use the dropdowns to select the wait duration.
Use Cases
Staggered Communications
Use Wait Steps to space out emails or other interactions to avoid sending them all at once.
Example:
- Send an email introduction to the candidate.
- Add a wait step for 2 days.
- Send a follow-up email to check in.
Controlled Task Timing
For workflows requiring timely task execution, wait steps ensure actions occur only after a predetermined delay.
Example: Waiting 24 hours after a candidate submission to trigger a reminder task for the recruiter.
Date-Based Automations
Adding a wait step of at least 24 hours before a start date allows the automation to prepare the list of records for the next step, ensuring accuracy and completeness.
Example:
- Create a list of placements with start dates.
- Add a wait step 24 hours before the start date.
- Send a reminder to the placement’s owner.
-
Plan for Processing Time:
Understand that subsequent steps may require additional processing time after the wait step completes. Account for this delay when planning time-sensitive automations.
-
Use Wait Steps Before Key Dates:
Include a wait step of at least 24 hours before date-based triggers to ensure the automation prepares records effectively.
-
Minimize Workflow Interruptions:
Avoid pausing automations with wait steps. When an automation is paused, the countdown timer for the wait step resets upon reactivation, meaning previously elapsed time is lost. Plan your workflows carefully to prevent disruptions.
FAQ
What happens if an automation with a wait step is paused?
When a non-date based automation with a wait step is paused, the wait step recalculates the execution time to account for the pause duration. It doesn't track time actively but instead calculates when the record should proceed based on its entry time and the pause duration.
If a 30-minute wait step is saved and a record enters at 1:00 PM, the automation calculates that the record will proceed to the next step at 1:30 PM.
If the automation is paused at 1:15 PM for 5 minutes, the wait step recalculates the execution time by adding the duration of the pause. In this case, the new execution time becomes 1:35 PM (1:30 PM + 5-minute pause).
As a result, the record will move to the next automation step at 1:35 PM instead of 1:30 PM.
How precise are wait steps in processing time?
Wait steps hold records for the exact duration specified. However, processing time for subsequent steps may slightly delay the execution of the next action.
Can I use wait steps to delay actions until a specific time of day?
Wait steps are based on elapsed time (e.g., hours, days) rather than specific times. To align actions with a particular time, you may need to incorporate date-based criteria in your workflow.