| Package: Recruiting(JS2) |
Creating the Job Board Web Site
![]()
This article describes how to create the Job Board web site, which includes registering a domain, creating a site record, assigning public access settings, modifying field level security settings, and adding standard pages.
Registering a Domain
To take advantage of the Sites Technology offered by Salesforce, you company must register a Sites Domain with Salesforce. The domain name must be unique. Once you have selected your domain, you will not be able to change this, so select carefully.
| Note: To register a site you must have the "Customize Application" permission. |
-
Navigate to Setup > Develop > Sites to display the Sites screen.
-
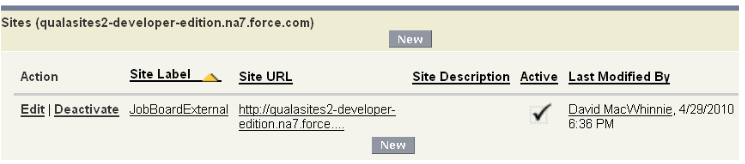
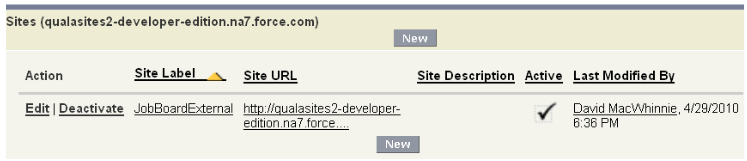
Scroll down to the Sites panel.
-
Click New to display the Site Edit screen.
-
Enter a user friendly name for your site into the Site Label field.
-
Enter a unique name for your Force.com domain in the Site Name field.
This name must be unique within your organization.
Force.com recommends using your company's name or a variation, such as "mycompany". It may contain:Additional formatting rules are:
-
underscores
-
alpha characters
- numbers
-
It must begin with a letter.
-
It may not include space characters.
-
It may not end with an underscore.
-
It may not contain two consecutive underscores.
-
-
Click Check Availability to confirm that the domain name you entered is unique.
If it is not unique, you are prompted to change it. -
Click Register My Force.com Domain.
-
After you accept the Terms of Use and register your Force.com domain, the changes related to site creation are tracked in your organization's Setup Audit Trail and the Site History related list.
-
It may take up to 48 hours for your registration to take effect. Once your site has been registered, you can start to build your Job Board.
-
Creating a Site Record
After you have created and registered a domain, you may begin to create a public facing web site that displays Job Orders to candidates. After your Site has been registered with Salesforce, you can start the process of creating your Job Board.
| Note: To create a Job Board you must have the "Customize Application" permission. |
-
Navigate to Setup > Develop > Sites to display the Sites screen.
-
Scroll down to the Sites panel.
-
Click New to display the Site Edit screen.
-
Enter the name of the Job Board as it appears to users in the Site Label field.
-
Enter the Site Name of the Job Board as it is used with API calls.
The interaction between the Job Board and Jobscience Recruiting. -
Enter the person that will receive site-related communication into the Site Contact field.
-
Enter into the Default Web Address field the unique name of the sub-directory that will contain the Job Board's pages.
This value is used within the Job Board setup process below. -
If the Job Board setup is complete and ready to go public, set the Active field.
-
In the Active Site Home Page field, enter "Job Search" and click
 to open a search dialog. Select the link with the Namespace Prefix "ts2".
-
Optionally
-
In the Inactive Site Home Page field click
to open a search dialog and to select a different page to display when the site is not up and running. -
In the Site Template field click
to open a search dialog and to select a different site template.
-
-
Do not enter values into the following fields:
-
Site Robots.txt
-
Site Favorite Icon
-
Analytics Tracking Code
- Enable Feeds
-
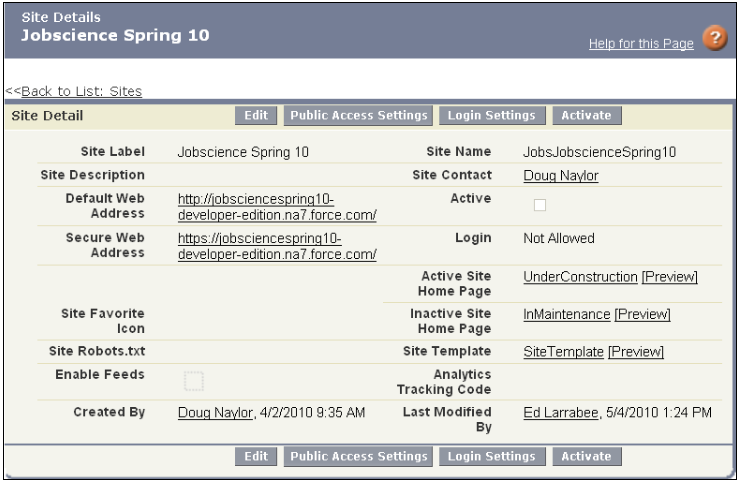
- Click Save to display the Site Details screen.
Assigning Public Access Settings
| Note: In some cases, the Object names you see may be different. For example, instead of Job Orders, you might see Requisitions, Assignments, or Vacancies. |
-
Navigate to Setup > Develop > Sites to display the Sites screen.
-
Scroll down to the Sites panel.
-
Click the link of the site in the Site Label column to display the Site Details screen.
-
Click Public Access Settings to display the Job Board's Profile screen.
-
Click Edit to display the Profile Edit screen.
-
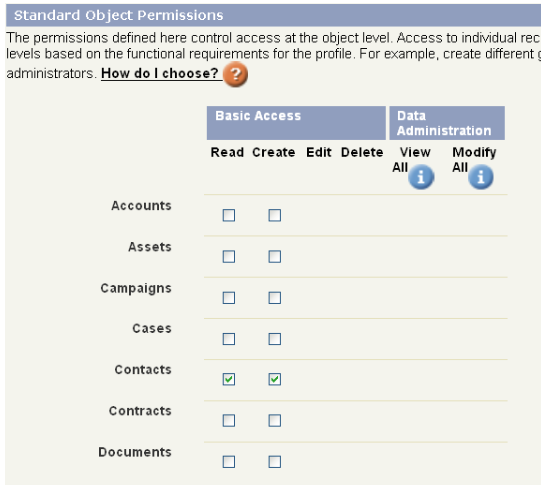
Scroll to the Standard Object Permissions panel and select Read and Create in the Contacts row.
-
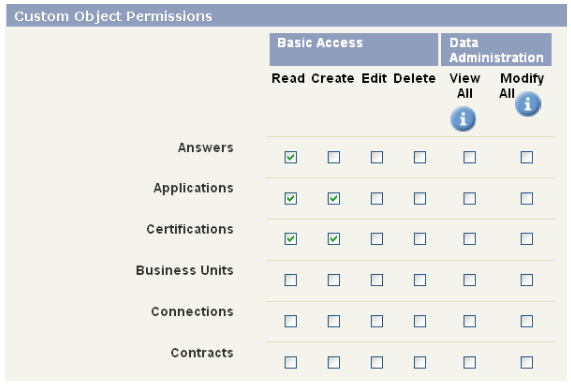
Scroll to the Custom Object Permissions panel and select the following values:
-
Applications -- Read / Create
-
Answers -- Read
-
Certifications -- Read / Create
-
Education History -- Read / Create
-
Employment History -- Read / Create
-
Board Setup -- Read
-
Job Order Job Board Association -- Read
-
Prescreens -- Read / Create
-
Questions -- Read
-
Question Sets -- Read
-
Skills -- Read / Create
-
Sources - Read
-
Standard Questions -- Read / Create / Edit
-
-
Click Save to display the Profile screen.
Modifying Field Level Security Settings
-
Navigate to Setup > Develop > Sites to display the Sites screen.
-
Scroll down to the Sites panel.
-
Click the link of the site in the Site Label column to display the Site Details screen.
-
Click Public Access Settings to display the Job Board's Profile screen.
-
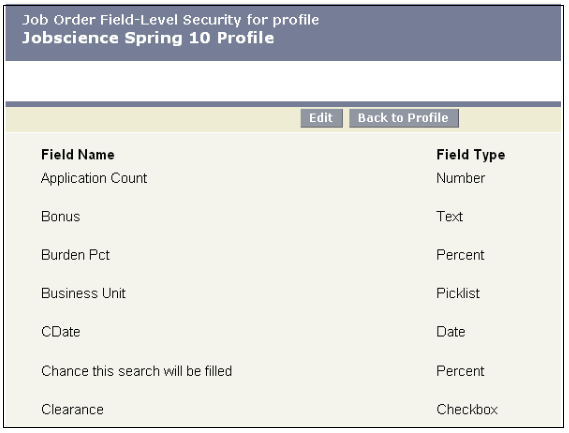
Scroll to the Field Level Security panel and click View next to Job Order to display its Field-Level Security screen.
-
Click Edit and select the following values:
-
Job Title -- Visible / Read Only
-
Job Function -- Visible / Read Only
-
Department -- Visible / Read Only
-
Location -- Visible / Read Only
-
Date Posted -- Visible / Read Only
-
Job Description -- Visible / Read Only
-
-
Click Save.
Adding Standard Pages
-
Navigate to Setup > Develop > Sites to display the Sites screen.
-
Scroll down to the Sites panel.
-
Click the link of the site in the Site Label column to display the Site Details screen.
-
Scroll down to the Site Visualforce Pages panel.
-
Click Edit to display the Enable Visualforce Page Access screen.
-
Select each of the following pages in the Available Visualforce Pages list and click
 to add it to the Enabled Visualforce Pages list:
-
JobSearch
-
JobDetails
-
JobEmail
-
Register
-
Resume
-
StandardQuestions
Note: There are other similar pages with names beginning with "ts2_". Only add the pages that do not have the "ts2_" prefix. -
- Click Save.