Replacing a Bullhorn User Account
- You should not change a username on an account after the account is created as this can cause issues with data integrity.
- The Unassigned User is not to be used as a paid user. It is for Bullhorn Support use only.
Overview
This article goes over the preferred process of changing user information in the ATS. This article will cover:
Adding a New User
The easiest way to add a user is to copy an existing user with a similar role (i.e., the same usertype, department, etc.), as there will then be fewer fields you have to complete. Please note that many of the fields you see while adding a user reference legacy functionality and are therefore omitted below.
- From your Bullhorn go to Menu > Admin > Users.
- Select the pencil icon next to the user you want to copy.

- Select Copy User at the top right of the screen.

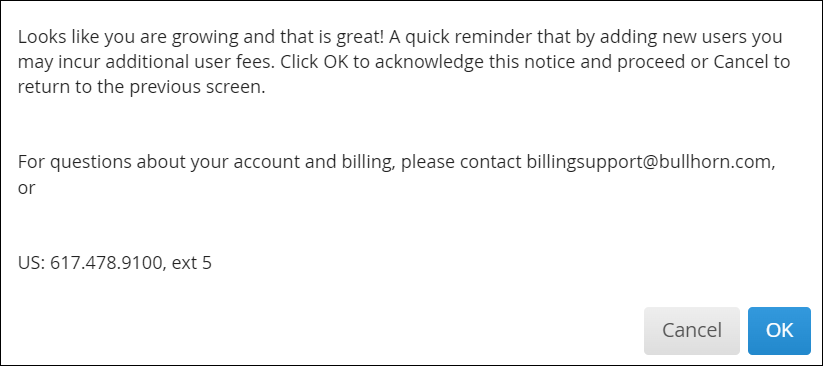
- Review the pop-up and then select OK to confirm.
- Fill out the required Account Information:
- Username: Enter the desired username in lowercase characters. The username must be unique and cannot be in use by any enabled or disabled Bullhorn user.
- User Type: Select the desired user type.
- Private Label: Select a primary private label for the user.
- Primary Department: Select a primary department for the user.
- Select the dropdown for Contact Information and fill out the required information:
- Name: First and last name of the user.
- Reports To: Direct Manager of the user being added.

Many of our standard reports are designed for managers to analyze and measure performance for employees who report to them. For these reports to work, on each user's account, you must select the name of the manager to whom they report. Note that the user's primary department must be the same as their manager's primary or secondary (additional) department.
- Select the dropdown for Email Settings and fill out the required information:
- Primary Email / Reply to: Enter the user's primary email address.
- The email address domain must currently be in use by your company.
- In-bound Email: Turn this on to enable email tracking for the user.
- Your company must have email integration enabled through Bullhorn for a user's emails to track.
- Outbound Email Configuration: Turn this on to launch the 3rd Party email application when an email is clicked in Bullhorn.
- Outbound Appointment Invitations: Turn this on so that meeting invitations created in Bullhorn are sent to the user's primary email address.
- Select Save at the bottom of the screen. An automatically generated password will be sent to the email added for the user.
Disabling a User
Disabling a user is a simple process, but there are certain items that should be checked when going through the steps.
Transfer of Information
If you do not transfer or recreate certain data from the user account you are disabling, then the user's data will appear hidden in your system. Below are references of how to transfer this data.
Transferring a User's Records
Transferring records from a user account will replace the Owner field with the internal user that you are transferring the records to. All notes, attachments, and email messages that are tied to transferred records will remain on the records after they are transferred. If needed, transfer the user's records to the new user account by this article.
Recreating a User's Tearsheets
If the user has any Tearsheets you would like to keep, you must recreate the Tearsheets in order to manage the sheet in the future. Follow this article to recreate a user's Tearsheets under the new user account. If the user you are disabling does not have any Tearsheets under their ownership, you may skip this section.
Recreating a User's Distribution Lists
If this user has any Distribution Lists you would like to keep, you must recreate the Distribution Lists in order to manage the list in the future. Follow this article to recreate a user's Distribution Lists under the new user account. If the user you are disabling does not have any Distribution Lists under their ownership, you may skip this section.
Disabling a User's Account
- From your Bullhorn select Menu > Admin > Users.
- Select the pencil icon next to the user that you want to disable.
- Under Account Information, set Account to Disabled.
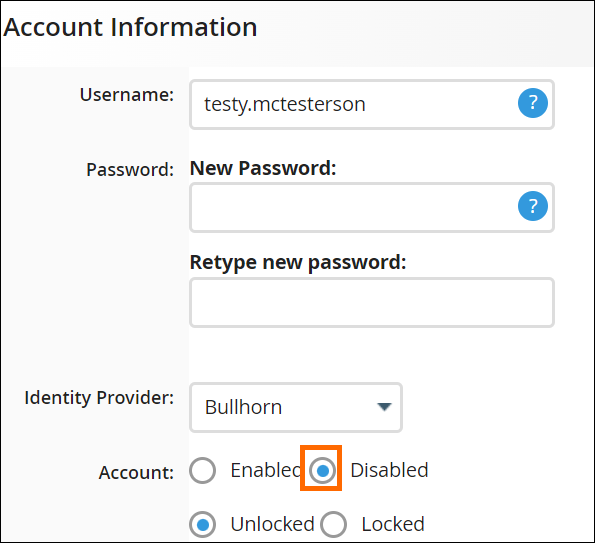
- Select Save at the top of the screen.
Upon completion of the above steps, you have successfully disabled a user account. Keep in mind that you or another administrator may re-enable the user account at any time. If you re-enable the user account, it will become billable if the total number of active users is greater than what is outlined in your contract with Bullhorn. Please contact your Account Manager for details about your contract.