| Editions Available: All Editions | Audience: |
Creating a Distribution List
Overview
You can use Bullhorn to create external and internal distribution lists.
- External: For mass mailing contacts, candidates, or leads using Bullhorn.
- Internal: For sending notifications to your coworkers who use Bullhorn. You can alert them to new records, send them copies of notes, and more.
You can create external distribution list using the list views or the +Add button. You can only create internal distribution lists using the +Add button.
Do not add more than 500 records to a distribution list.
Creating a Distribution List Using the List View
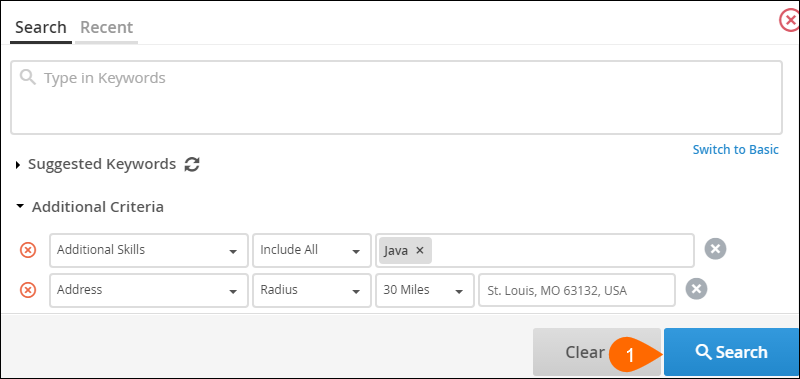
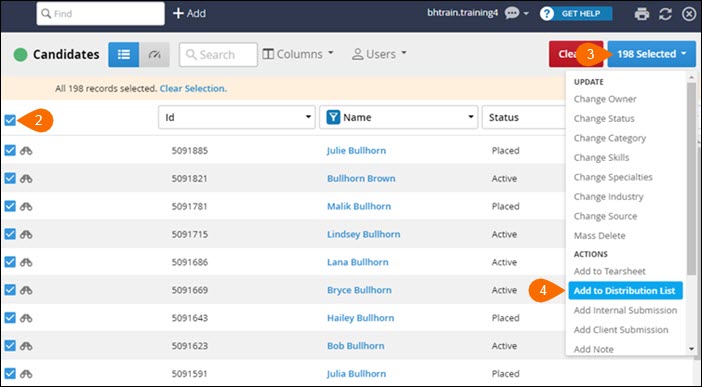
- Navigate to the Candidate, Contact, or Lead list view and run a search to find the people you want to add to a distribution list.
- Select the Select All checkbox.
- Select # Selected.
- Under Actions, select Add to Distribution List. A window opens that prompts you to add the selected individuals to a new or already existing distribution list.
- Enter the distribution list name and select Save.
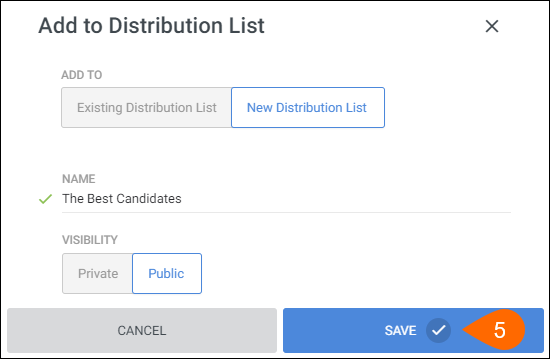
You have successfully created a distribution list using the list view.
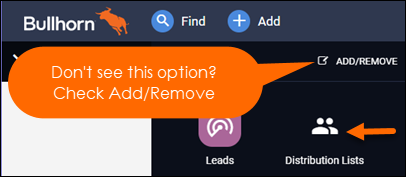
You can access your distribution list by navigating to Menu > Distribution Lists.
- S-Release: From the Menu, select Home > Distribution Lists.
Creating a Distribution List of Internal Users
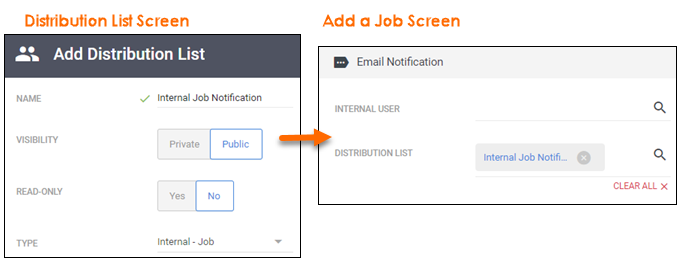
Creating a public distribution list with a type of Internal - Job, Internal - Submission, and Internal - Placement appears in the distribution list field for all records for the respective entity. This ensures that certain internal users are email notified for every new job, submission, and placement that is added or edited in Bullhorn.
In the above example, we created a distribution list with a type of Internal - Job. When a job in the system is added or edited, the distribution list field populates with this distribution list. If multiple lists with the same internal type exist in the system, then the field fills out with the oldest distribution list of that type.
Notes
- Novo only: If you have renamed the Job entity, you need to ensure you are using the term you selected for the list type.
- Example: "Internal - Vacancy", "Internal - Assignment", etc.
- If you accidentally add a Candidate, Contact, or Lead to a distribution list with a type of Internal, an email is not sent to them when you save the Job, Submission, or Placement.
- It is not recommended to create a distribution list of Candidates, Contacts, or Leads using the below method as you have to enter each record manually.
Steps
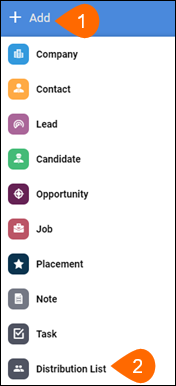
- Select + Add at the top of the screen.
- From the drop-down, select Distribution List.The New Distribution List screen opens.
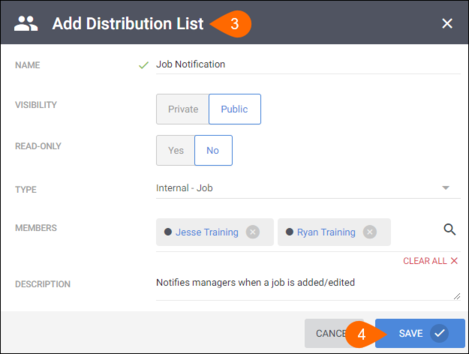
- Enter the details of your distribution list:
- Name / Title: Enter a new name or save over an existing distribution list.
- Read-Only: Prevents other users from editing your distribution list.
- Type: The members that your distribution list is comprised of.
- Members: The records that you want to add to your distribution list.
- Description: The description of your distribution list.
- Restriction List to Record Type: Restricting this list ensures that users can only add the selected record type.
- Click Save.
You have successfully created an internal distribution list.
- You can access your distribution list by navigating to Menu > Distribution Lists.
- S-Release: Menu > Home > Distribution Lists.
-
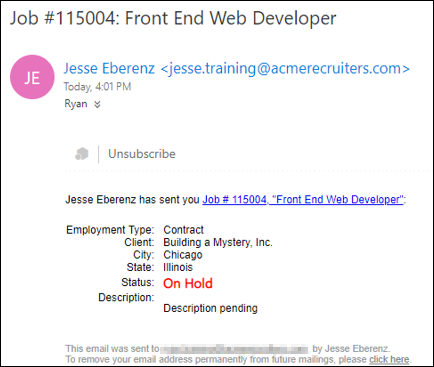
When a record of the respective entity is added or edited, the user(s) on the distribution list receives an email.
For information on managing your distribution lists, see Managing Distribution Lists.
