| Editions Available: All Editions | Audience: |
Scheduling an Appointment with a Candidate or Contact
Overview
This article explains how to schedule an appointment with a Candidate or Contact.
Appointments created in Bullhorn are tracked against the corresponding record, and an invitation is sent to your email allowing you to add the event to your calendar. You can also invite any interested parties directly from Bullhorn.
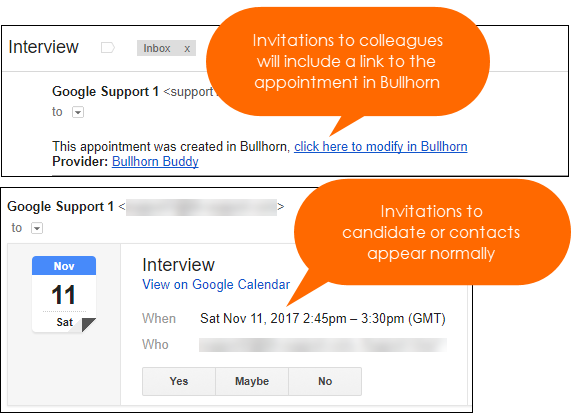
There are two appointment invitations you will see using Bullhorn:
- Internal: This is an invitation sent to you, the Bullhorn User, that gives you extra details and the ability to open the appointment record in Bullhorn. The user who creates the appointment will always receive an invitation via email regardless of the Notify Attendees setting.
- External: This is the invitation for anyone else you invite. It only contains information in the Subject and Description and does not contain a link to the records in Bullhorn.
Updating Existing Appointments
You should always modify existing interviews from Bullhorn. All appointments are accessible to edit via the Related Appointments section on any associated record or from within your email.
Use the below section To Schedule an Appointment with a Candidate> or Contact> for steps on how to complete the update.
You must be the owner of the appointment to either edit or delete it.
Do not forward appointment invitations to other persons from your email inbox. Instead, edit the appointment in Bullhorn to add the new attendee(s). Bullhorn will send an invite to any additional attendees added once you save.
To Schedule an Appointment with a Candidate or Contact
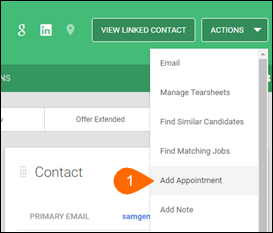
- On the Candidate or Contact record, from the Select an Action drop-down, select Add Appointment.

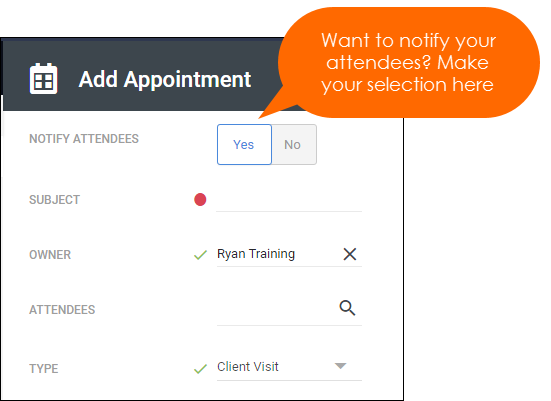
- Fill out the Subject, Attendees, and Type fields.
- Manually type the name of the desired Candidates/Contacts in the Attendees box.
- If you are scheduling an interview and want the appointment to be used reporting your interview, ensure you set the type as Interview.
- Appointment types are controlled by the scheduleTypeList system setting.
- Toggle Notify Attendees to determine if your attendees receive an invite.
The user who creates the appointment will always receive an invitation via email regardless of the Notify Attendees setting.
- Toggle the Visibility to Private if you'd like the appointment to display only to those users who were invited.
- Appointments marked Private will send a notification to attendees' inboxes, but the appointment will not show on their calendars.
- Use the picker tool to select the date and time of the appointment.
- Fill out the Communication Method and Location fields.
- If necessary, type a Description of the appointment.
- This information displays to all recipients of the invitation.
- Enter a Reminder to receive a reminder email prior to your appointment.

- Select your Appointment Repeats recurrence pattern.
- Interval-based: When it's every number of weeks/days, etc.
- Calendar-based: Every 15th of the month, etc.
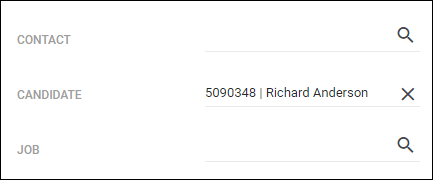
- Fill out the Reference fields.
- This will connect the appointment so that it displays on the selected records.
- Please see step two to send an invite to another person / attendee.
- To attach a file to the appointment, in the Attachments section, either drag and drop the file or click the box to browse your desktop for the file.

- Click


