Creating Default Onboarding Fields
Overview
You can create default fields from within the Onboarding system that can be used across all of your documents. This is useful for quickly building a library of commonly used fields.
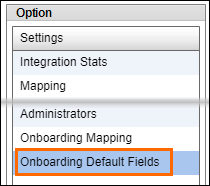
- Navigate to the Admin tab.

- Select Onboarding Default Fields from the Settings menu.
- Select Create New Field to open the Edit Field screen.

- Choose a Field Type and any Field Options.
- The field name and options can be changed on a per document basis after they have been added to a document.
- Enter in a Default Field Name.
- Select
 to confirm your changes.
You can also turn a field you created for one document into a default field to be used on all of your documents.
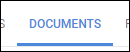
- Navigate to the Onboarding tab.

- Select Documents tab.
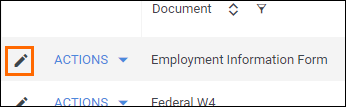
- Locate and open the document containing the field you want to convert to a default by selecting
 .
.
- At the top of the field bank on the left, select Fields.

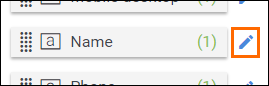
- Locate the field you wish to convert to a default and select
 .
.
- Toggle the Add to Global Default? option to Yes.
- Enter a name for the default field in the Global Default Name field.

- Select Save to confirm your changes.

When you have finished creating your default fields, you can then add them to any of your onboarding documents.
- Navigate to the Onboarding tab.
- Select Documents tab.
- Locate the document you want to edit and select to open it.
- Information on creating a new document can be found Uploading a New Onboarding Document.
- At the top of the field bank, select Add New.
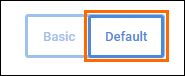
- Switch the field type toggle to Default.
- Add the field by holding
 and dragging it from the field bank and dropping it onto the document.
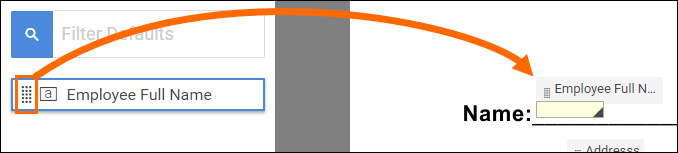
- In the Add Field screen, adjust any of the field options as needed.
- Once you are satisfied with the field settings, select Save to confirm your changes to the field.
- On the Document Builder, select
 in the upper right to save the changes to the document.
Was this helpful?