Date Input Fields
Overview
This article highlights the steps for adding Date Input fields to an Onboarding document.
Steps
- Navigate to the Onboarding tab.

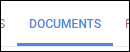
- Select the Documents tab.
-
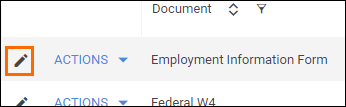
Select the document you will be editing.
- If you need to upload a new document, see Uploading a New Onboarding Document.
- If you need to upload a new document, see Uploading a New Onboarding Document.
- From the field bank on the left, select Add New.

- Drag Add Date Input from the field bank to the desired location on the document.
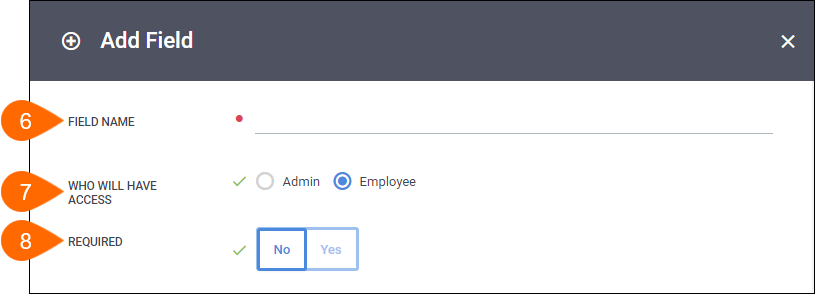
- The Add Field window will open so you can adjust the field settings.

- Enter in a name for the field.
- Choose who will complete the field.
- Select if the field is required to be completed.
- In the Custom Format field, enter in a format that you would like the date to display.
- Leave the field blank to use the system default format.

The below table lists the available formatting options.
Format Description Example Blank System default 02/01/ (US format) yyyy Year (four digit) yy Year (two digit) 19
mmmm Month (full name) February mmm Month (short name) Feb mm Month (two digit) 02 m Month (no leading zero) 2 dd Day of the month (two digit) 01 d Day of the month (no leading zero) 1 eeee Day of the week (full) Monday eee Day of the week (3 characters) Mon ee Day of the week (2 characters) Mo hh 12 hour (two digit) 17 nn Minutes (two digit) 52 ss Seconds (two digit) 47 a/p AM / PM pm - Select a Source of Field, if necessary.

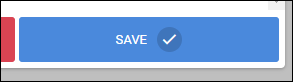
- Select Save to confirm your changes.
Next Steps
The following articles provide additional information on customizing how your fields will display.
Was this helpful?