USAM How To Search
You can search in a variety of different ways.
General
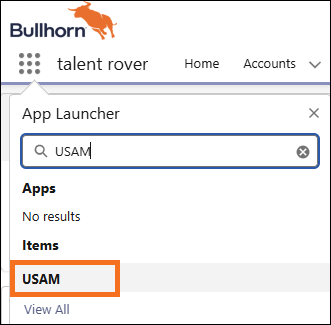
- Click the 9 dots icon to access the App Launcher.
- In the Search apps and items... field enter "USAM". When it comes up in the list, click USAM.
- Identify what entity you would like to search. Click on that appropriate tab.
- For example, Job.
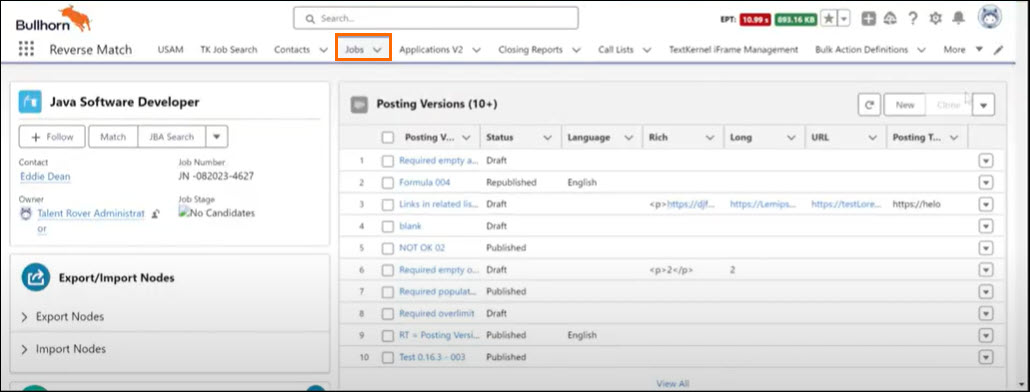
- For example, Job.
- In the Filters pane, click dropdown that appears under your job name.
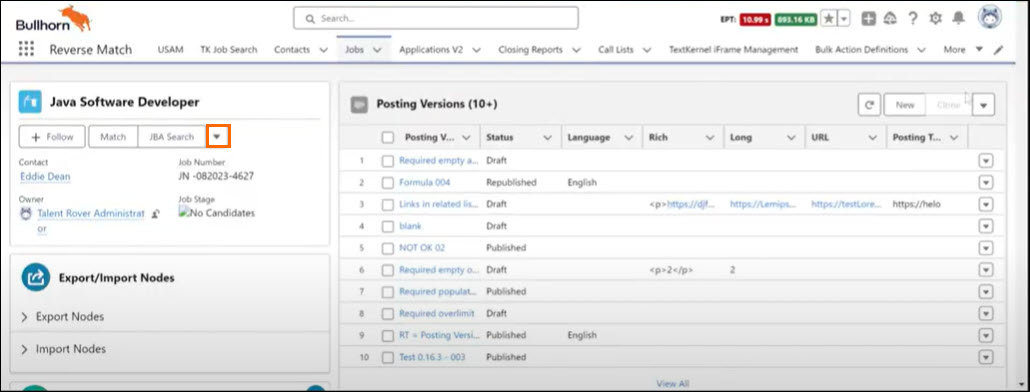
- Choose JBA Search or Search Job, depending on your preference.
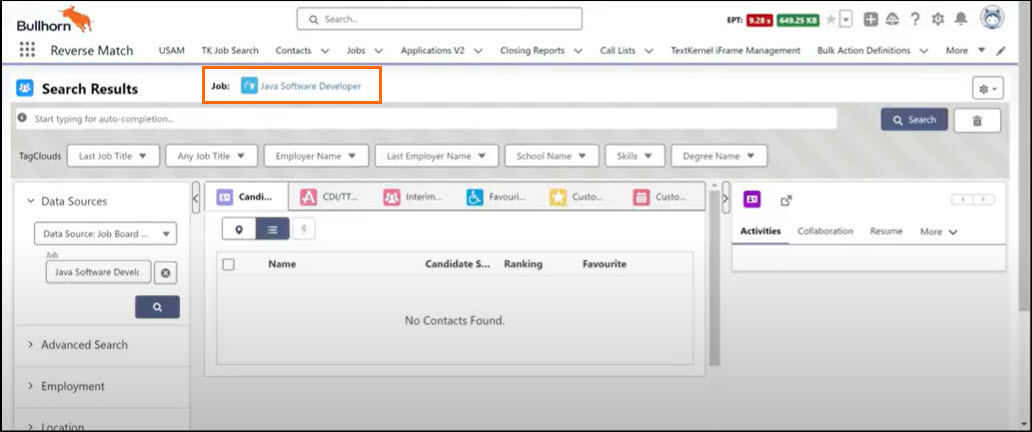
- This will open a new browsing tab.
- The name of the of Job will appear in the new tab.
- The name of the of Job will appear in the new tab.
- This will open a new browsing tab.
- In your Filter left-side pane, click the Data Source facet to expand it.
- The Data Source has been automatically filled with the Job board with the Job name you had selected pre-filled.
- Your results will populate in the Results List center pane on the new screen.
- For example, you will see the candidates who have applied to this job.
Keyword
- From the main screen, click on the contextual search bar.
- The contextual search bar will auto-fill to assist you in your search.
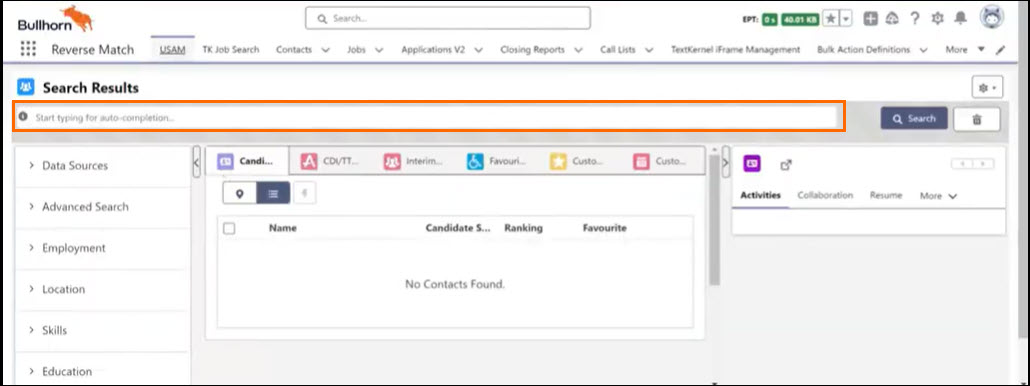
- The contextual search bar will auto-fill to assist you in your search.
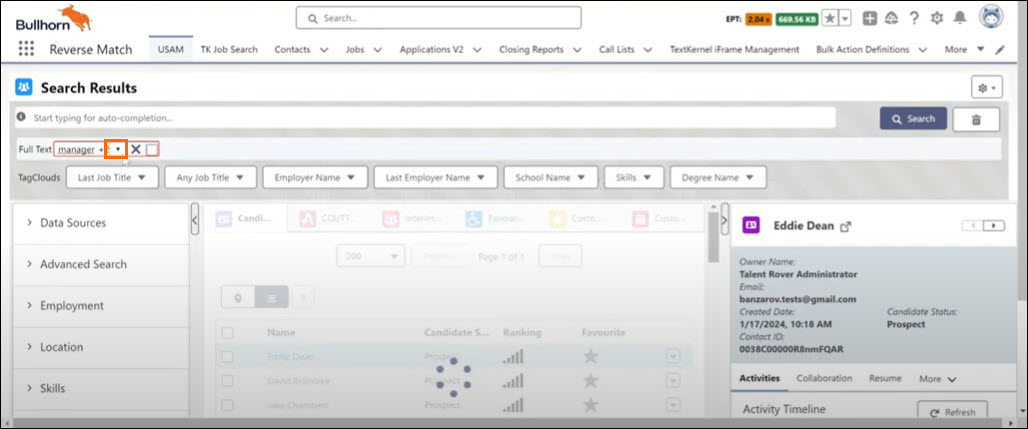
- Enter the search term you would like to run your search for.
- For example, you decide to use a keyword and search "manager".
- Select what you want the search to do. The options you can choose from are best divided into two groups:
-
Full Text: Click Full Text to opt to search exactly what you have entered everywhere.
-
Select What You Search: By choosing any of the other options, you can choose the location the word(s) you have entered are searched in.
-
These options are configurable in .
-
- Your results are listed below in the Results center pane, if you have the Search set to run automatically.
- Otherwise, you will have to click Search.
- If you would like to add additional search criteria, continue to add more terms into the contextual search bar.
- For example, "cities London."
- If you see a number next to the search (EX: +1) next to the search, it means the program has found a related term. Click the dropdown to see what it is.
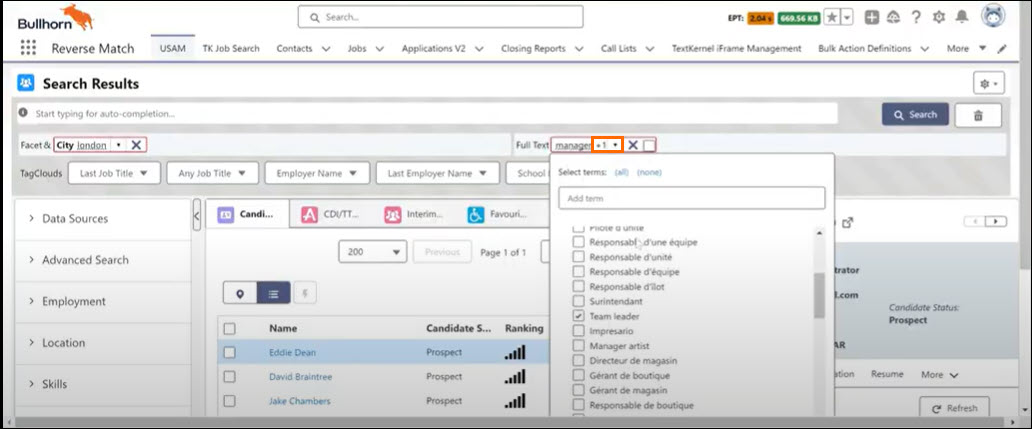
- You can add it to your search:
- Tick the checkbox of the related item.
- You can also enter your own term in the Add term field.
- After you apply these, this will appear under User Terms.
- You can also enter your own term in the Add term field.
- Click Apply.
- Tick the checkbox of the related item.
- You can add it to your search:
- After your screen refreshes, click the dropdown next to your searched term again.
- Tick the checkbox of all of the qualifications for your candidate.
- The program will display your results according to your preference, click one of these selections:
- Nice to Have: All candidates will be retrieved and they will be ranked.
- Should Have: All candidates will be retrieved but they will be ranked. The ones that meet the criteria in their resume will rank be ranked higher.
- The bars shown under Ranking will display the idealness of match.
- Must Have: Only candidates meeting the selected qualifications will appear.
- The program will display your results according to your preference, click one of these selections:
- Nice to Have, Should Have, or Must Have.
- Click Apply.
You can also save searches. For more details on saving searches, see USAM Saved Search.
Adding Multiple Search Sections
-
Click the + icon to add a new search section.
-
Repeat the above step to add however many search sections you'd like to add.
You can use multiple sections for searching multiple cities in different countries.
Search Multiple Cities in Multiple Countries
The ability to Search Multiple Cities in Multiple Countries has to be configured before use. For details, see Configure USAM Search Multiple Cities in Multiple Countries.