Configuring Statuses
Overview
Administrator Users have the ability to amend Statuses used throughout Invenias to best suit their business practices and workflow's.
For example, you may prefer to use customized Progress Statuses for Candidates in an Assignment compared to the default provided by Invenias, in an order specific to your business need's.
This article covers:
Modifying an Existing Status
Permission Required: Please note, you need the "Access System Preferences" permission
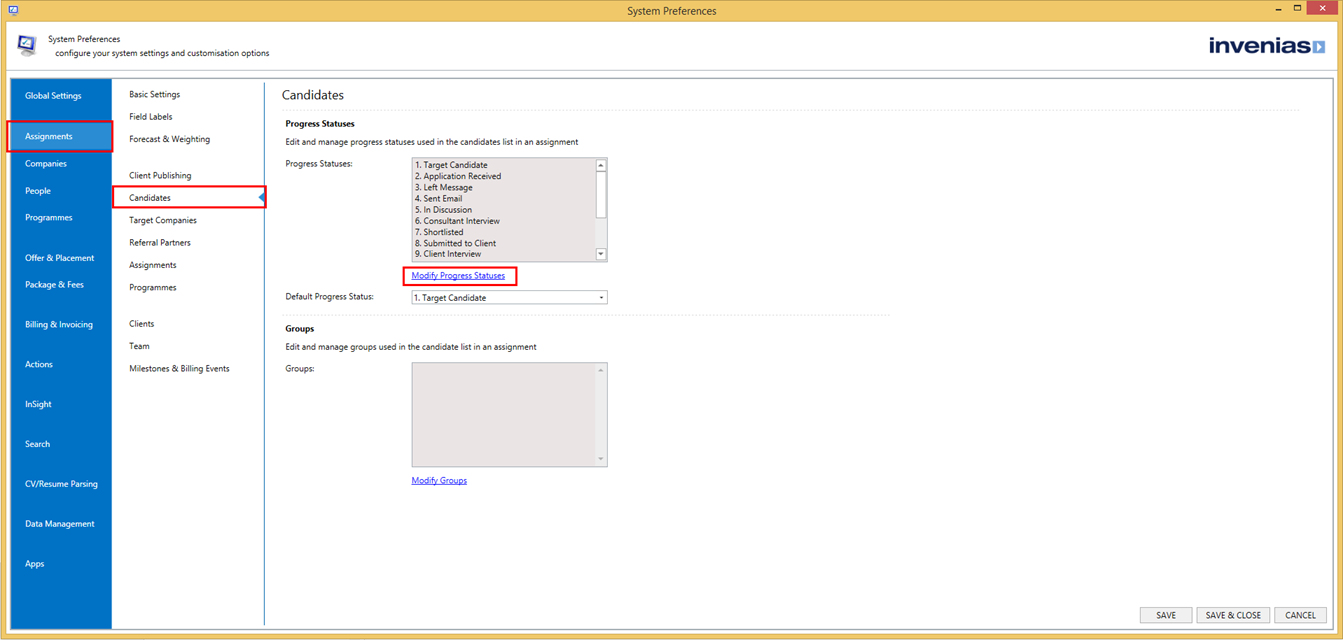
To modify an Invenias status you need to access System Preferences:

In this example we will modify Candidate Progress Statuses, firstly click to Assignments> Candidates and click Modify Progress Statuses:
The Progress Statuses Window will open as shown below. The same window is used when modifying any other Status in System Preferences:
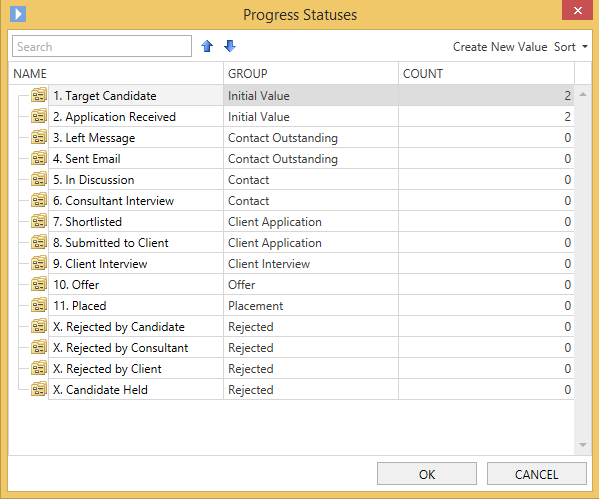
In this example, we want to change the order of the existing Candidate Progress Statuses and add a new status.
To re-order, simply select a status and use the Move Up/Down Arrows or drag and drop to change the order:

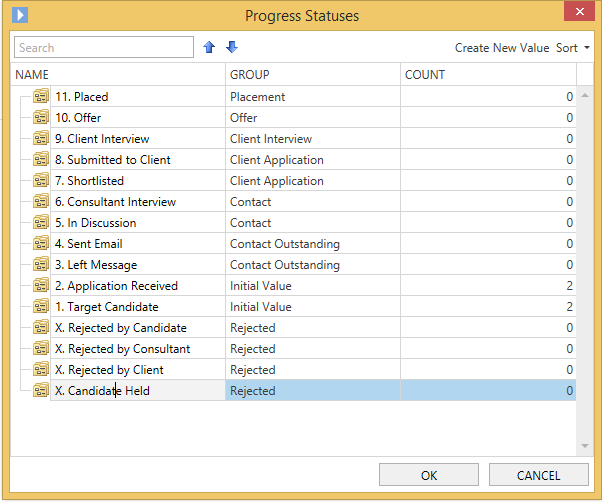
In this example we've changed the order to show Placed Candidates first, down to Target Candidates and finally Rejected statuses:
You can also set the Progress status Group independently of the order index. These "Progress Status Groups" drive some logic in some parts of Invenias, you should use them as follows:
- Initial Value - the Status (or Statuses) that you use when adding Candidates to an Assignment
- Contact Outstanding - Attempted to make contact, but no discussion with the Candidate yet
- Contact - made contact, progressing but not yet interviewed with you
- Consultant Interview - Interview with you ahead of shortlisting
- Client Application - indicates the candidate has been shortlisted or submitted to the client, but is not yet interviewing with them
- Client Interview - now interviewing with the customer
- Offer
- Placement
- Rejected - all rejected, withdrawn and NI statuses
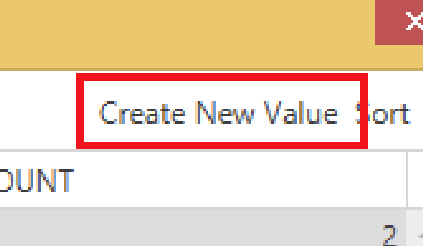
Now the order is to our preference we can add a new status by clicking Create New Value to add a new value to this list:
Click into the name field to edit the name, then re-order the new status to your preferred location.

The other fields in the Status Window are described below:
Status Count
The Count column within the editor indicates how many records within the database have a specific status. This then allows you to check that no records have a particular status before deleting it.
Sort
You can also determine the default 'Sort' ranking for the statuses. The sorting functions change depend on the type of drop down you're trying to alter.
Progress statuses (or those with status groups)
E.G Candidate progress status, Client status, Research Target Company Status
The sorting function in the right hand side allows the sub-types to alphabetized. The arrows on the left of the screen allow you to manually change the order of the items. You cannot change the order of the status groups, due to reporting restrictions.
Types (or those without status groups)
E.G Document types, Programme Status, Qualifications
The sorting function in the right hand side allows the items to alphabetized. The arrows on the left of the screen allow you to manually change the order of the items.
Deleting an Existing Status
Open system preferences, click to the relevant page for the status you wish to remove and click Modify Status to open the Status Window previously described.
Right click on the status you wish to remove and select Delete:

Tip - You can only Delete Statuses which have a count of 0. If you want to remove a Status which has a count of 1 or more, you will have to locate all Records with this Status and change the Status to any other Status until the count has been reduced down to 0. You will then be able to Delete it. Structured Search can be used to produce a results list of Records containing a particular Status. These Records can then be opened and amended.