Source Management
Overview
Source Management empowers you to create and capture multiple reasons as to why a record was created on your database, for example Elliott Lack was introduced and referred to you by John Hopkin, but he has also applied for an Assignment using an Advertisement.
Source can be managed on more than just the four main records (Assignments, Companies, People and Programmes) as you can also record the Source for Candidates on Assignments and for People and Companies in a Programme Record.
This article covers:
- Creating a Source for a Record
- Updating a Source Item
- Creating a Source for a Candidate
- Originating and Primary Sources
- Configuring Source Management
Creating a Source for a Record
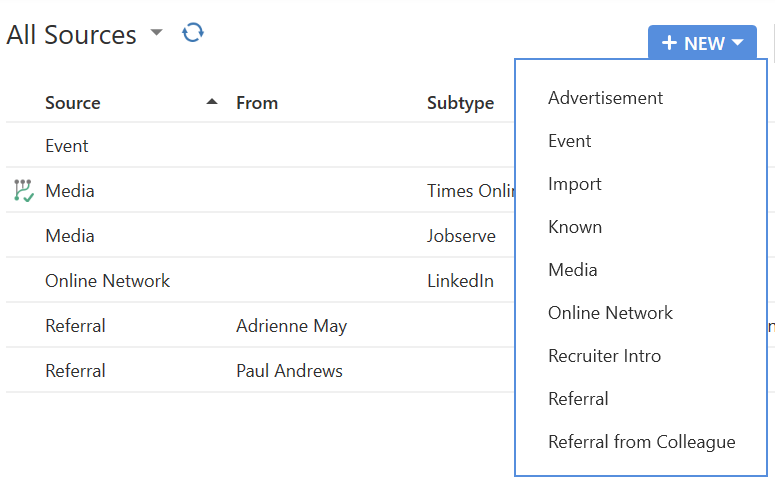
To record a source, navigate to the Source tab, click on the New Source dropdown and click on the type of Source you'd like to use.
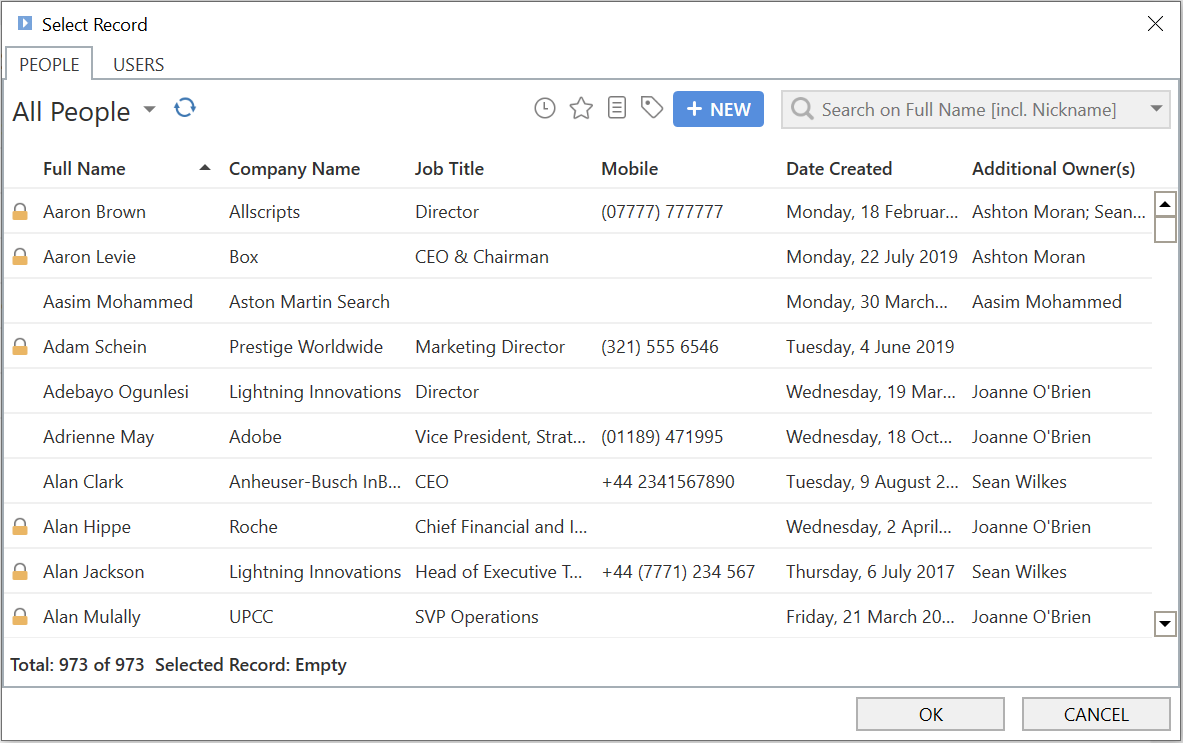
If you click on a Source Item that requires a link to another record, for example a Referral, the Select Record window will be launched. This window includes tabs at the top if the Source Item can be from more than one type if Record, for example Referrals can be from either People or Users. Selecting a record from the list and clicking Ok will add the Source Item to the list.
If you click on a Source Item that does not have any links to other records setup, it will be added to your list immediately.
Updating a Source Item
Some of the fields for a Source can be edited directly from the grid of all Source Items as follows:
- Subtype
- Notes
- Confidential
This example displays the Subtype column:
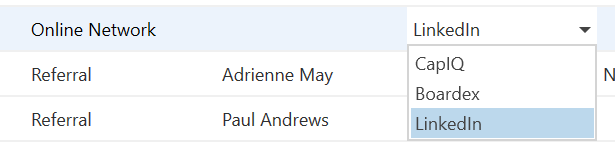
If you'd like to edit the rest of the information, double clicking on the row will launch the Source window. From here you can additionally modify the From field (if this has been setup for your Source Item), and the Notes and Confidential fields. You'll also notice any links to Assignments or Programmes will also be displayed here, for example if the Source is for a Candidate, it will show the relevant Assignment.
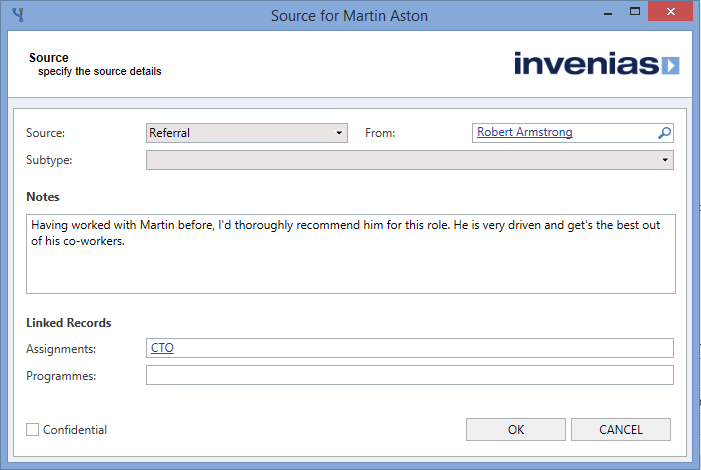
The Confidential field, is used to indicate if the origin of the source should remain confidential when being discussed, for example, if Person A gives a referral for Person B, Person A may not want Person B to know they referred them.
Creating a Source for a Candidate
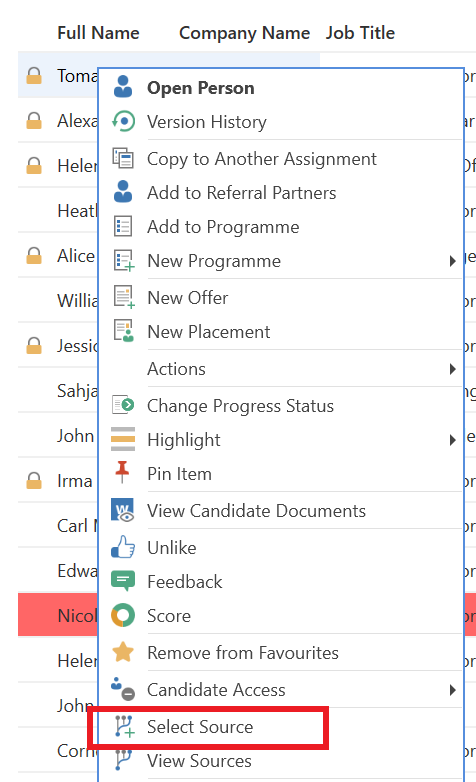
To create a source for a Candidate, select the Candidate in the Assignment Record and click on the Select Source item from the Context Menu.
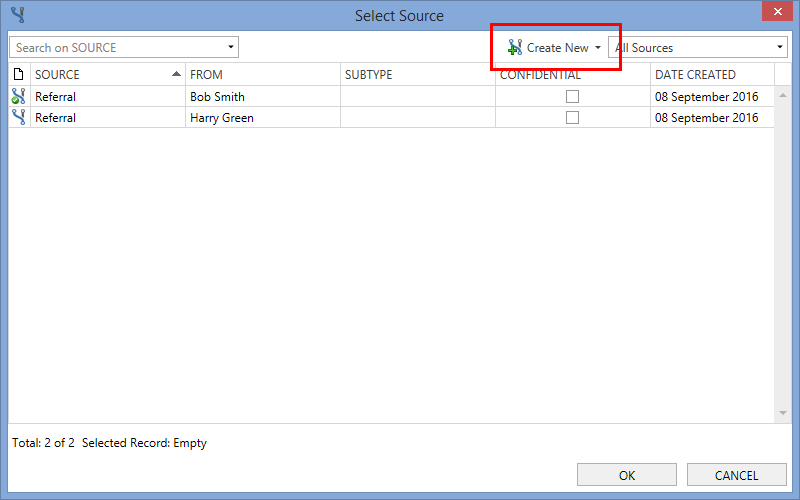
This will launch the Select Source window, which will list all existing Sources for the current Candidate, allowing you to choose one that already exists. If you want to create a new Source Item, this window includes a Create New button. If you create a new Source for this Candidate, the Source will appear on both their Person Record as well as their Candidate entry.
If you want to see the Source entries for your Candidates, you can click on View Sources from the Context Menu.
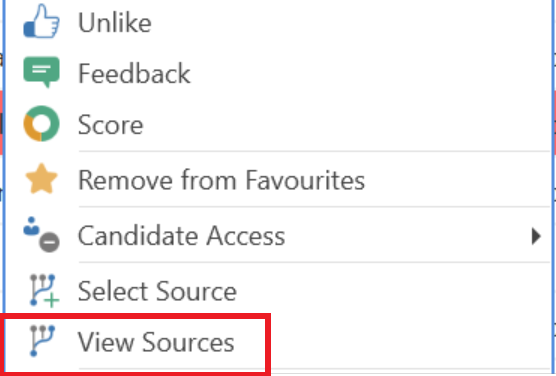
This will split the grid to show you all Sources for the selected Candidate.

Originating and Primary Sources
As you can record multiple sources for Records and related information, for example Candidates, within Invenias, you may want to identify just a single Source Item for reporting purposes.
Originating Source
The first Source Item added to a record, for example the Person record for Martin Aston, will become the Originating Source and this is indicated by an icon.

The Originating Source can be brought seen in the List Views for Records using the following columns:
- Originating Source
- Originating Source Date Created
- Originating Source From
- Originating Source Subtype
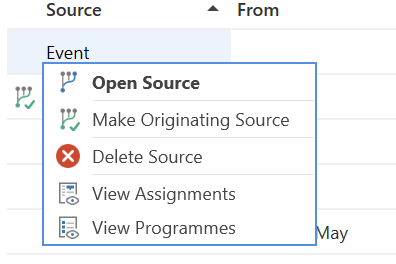
If you have multiple Sources for a record but you want to update the Originating Source, simply select the Make Originating Source option from the Context menu.
Primary Source
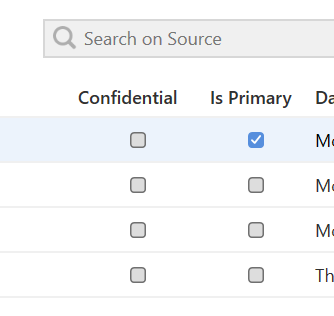
The first Source Item added to a Candidate will become the Primary Source and this is indicated by the Is Primary checkbox.
The Primary Source can be brought seen in the List Views for Candidates using the following columns:
- Primary Source
- Primary Source Date Created
- Primary Source From
- Primary Source Subtype
If you have multiple Sources for a Candidate and want to update the Primary Source, simply check the Is Primary box for your selected Source.
Configuring Source Management
Permission Required: Please note, to access System Preferences you need the "Access System Preferences" permission
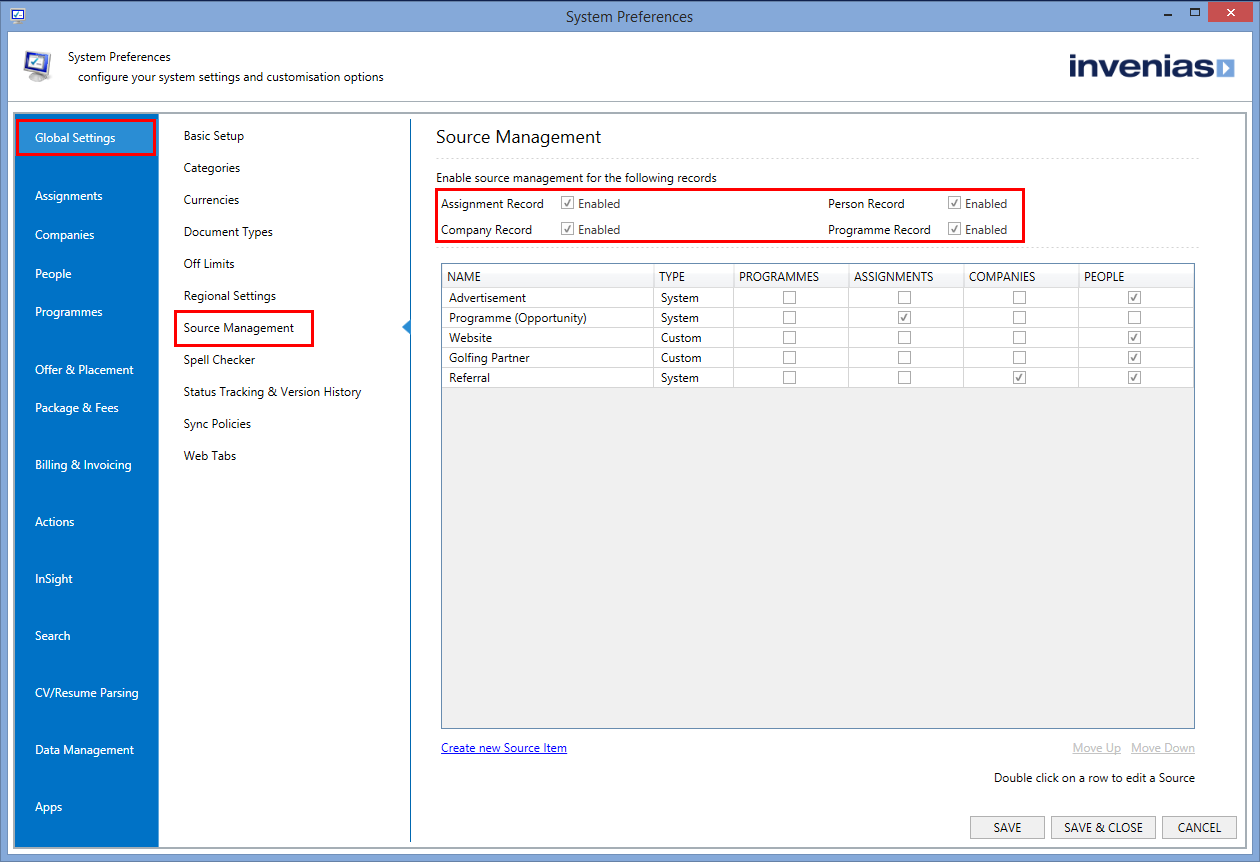
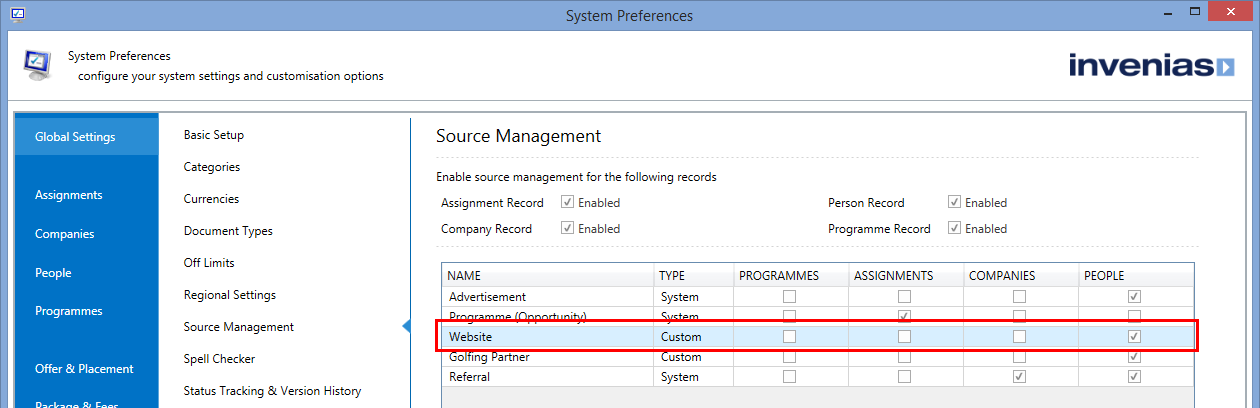
Source Management can be enabled for Assignment, Company, People and Programme Records within System Preferences, by navigating to Global Settings > Source Management and checking each of the record types you want to use. After Source Management has been enabled for a Record, the Source tab will become visible.
You can create new Source Items relevant to your business and how you want to track the sources of record by clicking the Create new Source Item link, which will launch the Source Editor window and add the new item to the bottom of the list.
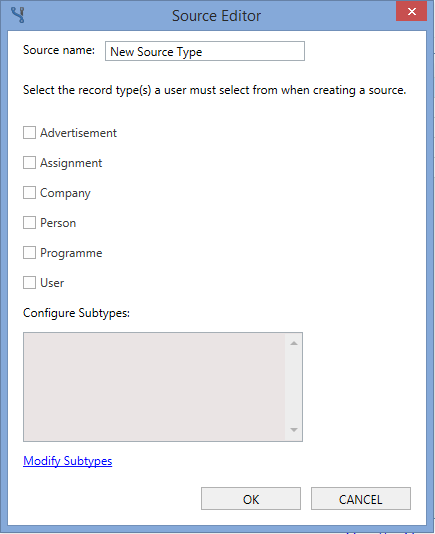
You can rename this Source Item and click OK to close the Source Editor. After closing the Source Editor, you can select the new Source Item from the list and tick the records this should be available for. The example below shows the Website source item, which has been made available to use on only People records, so I can specify a Person is known to me through a Website.
In addition to specifying the records that can use this Source Item, you can also configure the records types that can appear in the "FROM" field for a Source Item. For example, the Advertisement Source Item is only available to use on People Records, but when using this Source Item, you must link it to an Advertisement Record. To configure the record types that can be in the FROM field, you need to double click on a field to launch the Source Editor and check the relevant boxes.
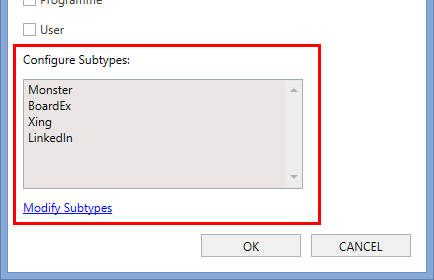
You can also configure sub classifications for Source Items, for example, a Source Item called Website could have multiple sub types like Monster, BoardEx, Xing, etc.