Setting up Office 365 Single Sign On within Azure AD
Overview
This article outlines the steps required to configure SSO via your Azure Active Directory (AAD) for Professional users accessing Invenias. You need to have admin access to your Azure AD portal and you must be an Invenias system administrator to complete this process.
Note that once SSO is configured, you can enforce Professional users to only access Invenias via SSO, via the Web admin app>Security page. In this scenario, Professional Users will be unable to log into Invenias, or reset their Invenias password as access is limited to SSO authentication only.
Note that for contingency against problems with implementation and 3rd party SSO providers, Invenias System administrators can continue to log-in using the Invenias provided username and password alongside SSO, when the SSO only option is selected.
Setup Steps
- Login to the Microsoft 365 Azure AD Portal
(alternatively go to Azure Active Directory in the Admin Centers in Microsoft 365 Admin Center) - You'll likely be taken to the Dashboard
- Navigate to Azure Active Directory
- Navigate to App Registrations
- Create a New App Registration
- Enter a Name (for example "Invenias SSO")
- Select Accounts in this organizational directory only for the Supported account types
- Select Web for the Redirect URI and enter the following URL https://companyname.invenias.com/identity (using your subdomain)
- From the Overview page of the App registration you've just created take a copy of both the
- Application ID
- Directory ID
- Navigate to Authentication
- Within the Advanced Settings, find the Implicit Grant section, check the box for ID tokens and save your changes.
Enter this information as your Identity Provider via our API
- Go to the Swagger API (https://companyname.invenias.com/api)
- Authenticate yourself as a User by double-clicking in the api_key field and you'll likely be asked to log in using your Invenias Username and Password
- Scroll down and click IdentityProviders to expand the options, and select "POST /api/v1/IdentityProviders/azuread"
- Click into the beige "example value" field to autofill the request model.
- Enter the following values into the request model (note Client ID and Directory ID should be taken from step 6 above):
- ClientId = Application ID (from step 6.1 above)
- ClientSecret = (set value to "string")
- DirectoryId = Directory ID (from step 6.2 above)
- IsActive = (set value to "true")
- DisplayName = a useful name to identify the authentication provider (e.g. "InveniasSSO") as you can have multiple identities with the same provider
- Example JSON Request Model / Code:
- {
"ClientId": "string",
"ClientSecret": "string",
"DirectoryId": "string",
"IsActive": true,
"DisplayName": "string"
}
- Click Try it Out to run the endpoint
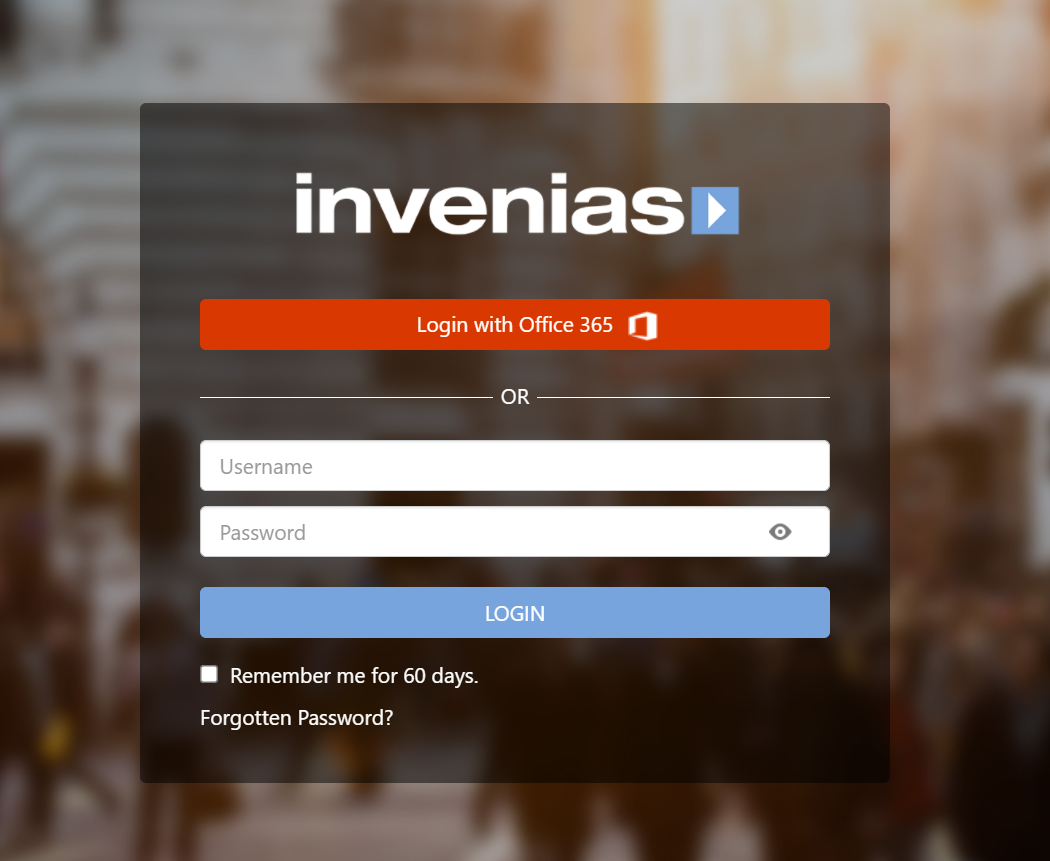
- After 10-15 minutes, Professional users will view the SSO log-in box when trying to accessing Invenias through any application. Example screenshot below: