Opt-In and Consent Management
This article contains information on the Opt-In and Consent Management GDPR features. Find both detailed enablement steps and specific system settings included.
Opt-In Management
Configure Candidates, Contacts, and Leads to be opted out of mass mailings and SMS by default. Set the SMS Opt-In and Mass Mail Opt-Out values in System Settings. If a record accepts SMS consent via the Request Consent email, the system will opt them into SMS on their profile.
There is no way to manually opt candidates, contacts, or leads in or out of SMS from within Bullhorn. Bullhorn does not touch historical records. Due to compliance, Bullhorn cannot opt records in en masse.
Set Candidates, Contacts, and Leads to Be Opted Out of Mass Mail and SMS by Default
Steps
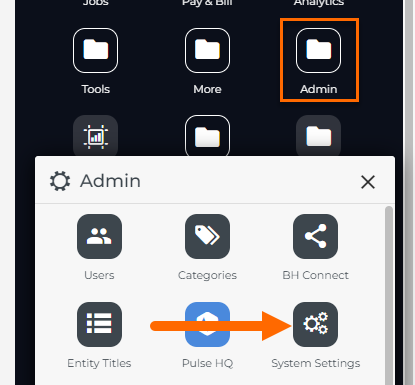
- From your Bullhorn Menu, navigate to Admin > System Settings.
- Search for “opt”.
- Expand defaultMassMailOptOut and set the Value to "TRUE".
- To manually opt Candidates, Contacts, and Leads into Mass Mail, contact Bullhorn Support. With the proper permissions, you can opt Candidates in using inline edit from the list view. Novo users can also use the Overview card.
Consent Management
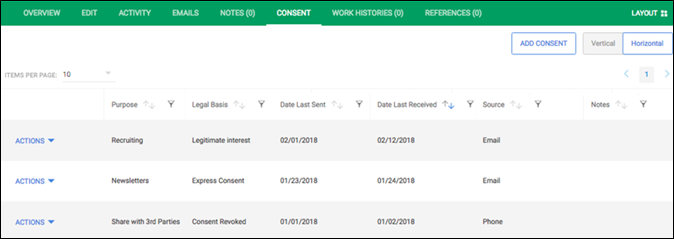
To track Candidate, Contact, and Lead consent, use the Consent tab to add or remove consent line items. You can also use the Request Consent feature to email a consent request; responses will automatically update the Consent tab.
The Consent tab is automatically added for certain features, like the LinkedIn RSC integration.
The Consent tab’s view and edit access is controlled by department. During enablement, you’ll specify which departments should have access. For details on department-based access, see Understanding Departments, User Types, and Entitlements. To enable the Consent tab or Request Consent feature, have your Account or Support Contact reach out to Bullhorn Support.
Sending a Request for Consent
When sending a request for consent, the email address of the sender will be used as the "from" and "reply to" email address. The email will go out within 75 minutes of being sent, and can be sent to 500 candidates, contacts, or leads at a time.
-
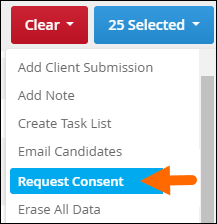
From your Candidate, Contact, or Lead list view, select the desired Candidates, Contacts, or Leads for whom you'd like to receive consent.
-
Single-click the blue Selected button and choose Request Consent.
Configuring the Request Consent Email
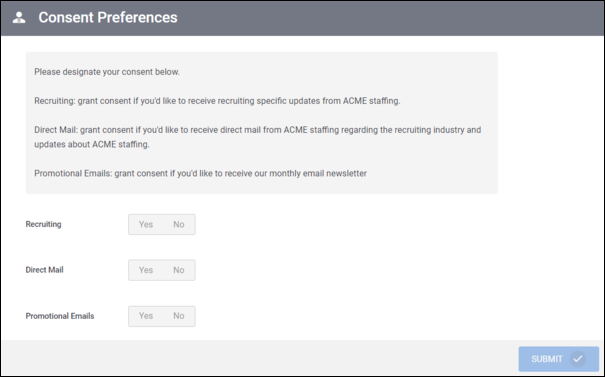
The consent preferences form linked in the email adds a line item for each purpose type. When saved, the Consent tab shows:
-
The date that consent was requested.
-
When the candidate submitted the consent preferences form.
-
Their consent choice(s)
If you would like a candidate/contact/lead's SMS selection to auto-update, contact Bullhorn Support.
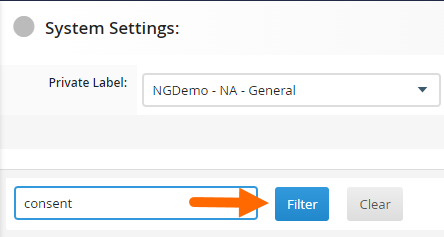
- From your Bullhorn Menu, navigate to Admin > System Settings.
- In the filter box, type "consent" and select Filter.
- Update the settings as follows:
| Setting | Action | Notes |
|---|---|---|
| candidateConsentRequestEmailSubjectLine | Enter the subject line you'd like to use for your request email to the Candidates, Contacts, or Leads, up to 100 characters. | |
| contactConsentRequestEmailSubjectLine | ||
| leadConsentRequestEmailSubjectLine | ||
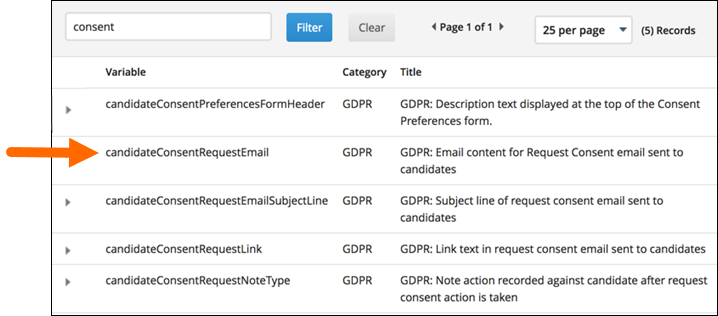
| candidateConsentRequestEmail | Enter in the body of the Request Consent email that will be sent to the Candidates, Contacts, or Leads. You may enter up to 4,000 characters. |
This field supports HTML. You can add links by using code like the below: <a href="URL" target="_blank">Link text</a> You can replace "URL" with the URL you are linking to and replace "Link Text" with the copy you want to link to the URL. The "target=_blank" attribute will make sure the link is opened in a new tab. |
| contactConsentRequestEmail | ||
| leadConsentRequestEmail | ||
| candidateConsentRequestLink | The text used for the link that's included in the Request Consent email. The default is "Update Consent Preferences". | Upon clicking this link, Candidates/Contacts/Leads will arrive at the Consent Preferences form where they will be able to select their consent. This form is controlled by the consent custom object. |
| contactConsentRequestLink | ||
| leadConsentRequestLink | ||
| candidateConsentPreferencesFormHeader | Enter the description text Candidates will see at the top of the Consent Preferences form, in the light gray box. | |
| contactConsentPreferencesFormHeader | ||
| leadConsentPreferencesFormHeader | ||
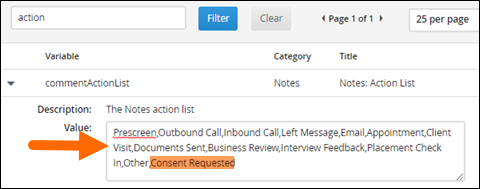
| candidateConsentRequestNoteType | Enter in the note type you'd like to associate with the Request Consent email being sent out to the Candidates. The default is "Consent Requested". | The note is recorded against the record after consent has been requested. This note displays on the Notes tab on a record and anywhere else where notes are displayed. |
| contactConsentRequestNoteType | ||
| leadConsentRequestNoteType |
- Update the commentActionList to include the value you selected for the candidateConsentRequestNoteType.
- Select Save.
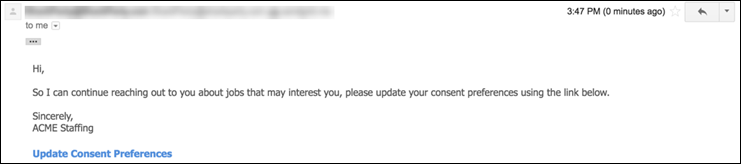
What does the Consent Request Email Look Like?
The recipients will receive an email like the one below, asking them to fill out the Consent Request Form.
Below is a sample Consent Request Form. Your header will differ depending upon the contents of the form header System Setting as shown in the configuration section above.