Create & Edit Incident Types
Overview
offers several incident types by default. You may find that your setup requires additional incident categories to be added. Follow these steps to add more incident types or to edit incident types already created.
Steps
- Open the group for which you'd like to edit incidents.
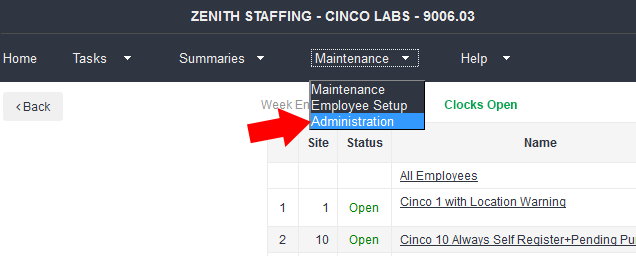
- From the top menu, select Maintenance > Administration.
- Select Incidents at the bottom of the page.

- In the Add Incident Type section, add the following information:
- Description: Enter the precise details for the incident type here. This description is what appears in the list when flagging an incident on a time card.
- Score: If you have a point system in place for various attendance events, enter the score for that event type in this field. This is an optional field.
- Sort Order: Use this option to organize a growing list of incident types; this determines the order of the list.
- Show in Manual Entry: This option should almost always be enabled. If this is not enabled, you will not be able to access this incident type when editing time cards.
- When you're done setting your values, click Save to add the new type to your list of available incidents.
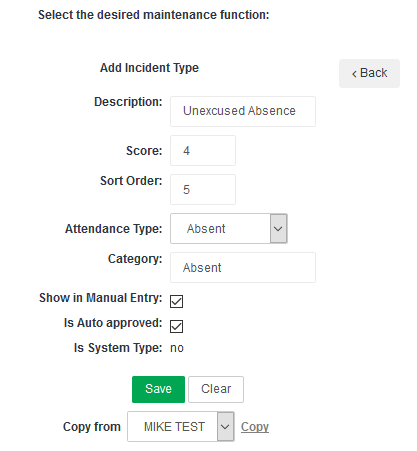
You may also use the Copy from feature to copy a list of incident types from another group.
Edit Incident Type
Once an incident type is created, you may click it from the list of current incidents to edit it.
- Click anywhere on a row to send that incident to the editing area above.
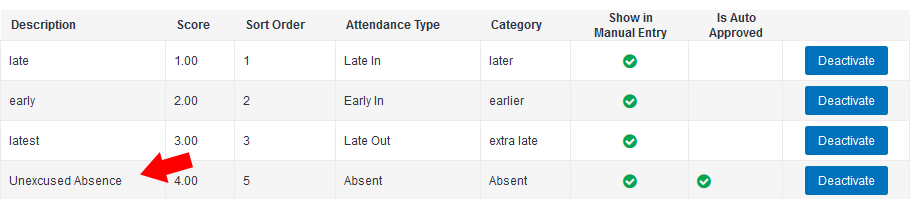
- Make any edits as needed.
- Select Save when you're done.
If you no longer need an incident type, click Deactivate to disable it.
Related Articles
Was this helpful?