Creating a Cover Page in Bullhorn Reporting (Previously Canvas)
Giving your report a cover page can be a great way to add polish. This option is available whether you're running the report in your browser or exporting it. This article covers how to create a cover page for your Bullhorn Reporting report. 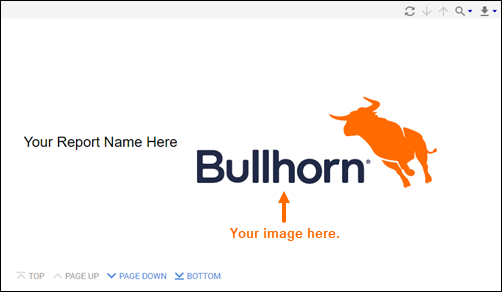
Steps
You must already have a report created before following the steps below.
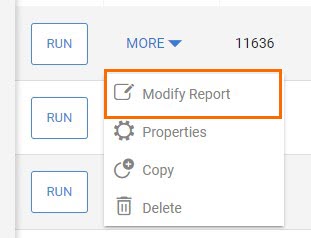
- From the Bullhorn Reporting list view, select More next to the desired report and choose Modify Report.
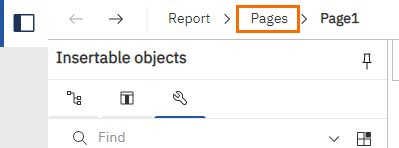
- Click Pages at the top of the report.
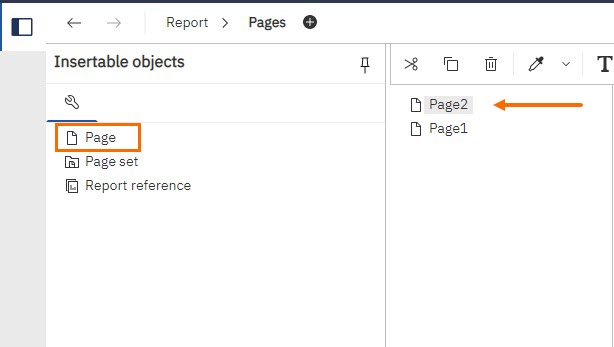
- From the Toolbox, double-click Page.
- Drag Page2 so it’s above Page1 in the Report Pages section.
- In the Properties pane, scroll down to the Miscellaneous section.
- In the Name property, type “Cover Page.” Then press Enter on your keyboard.
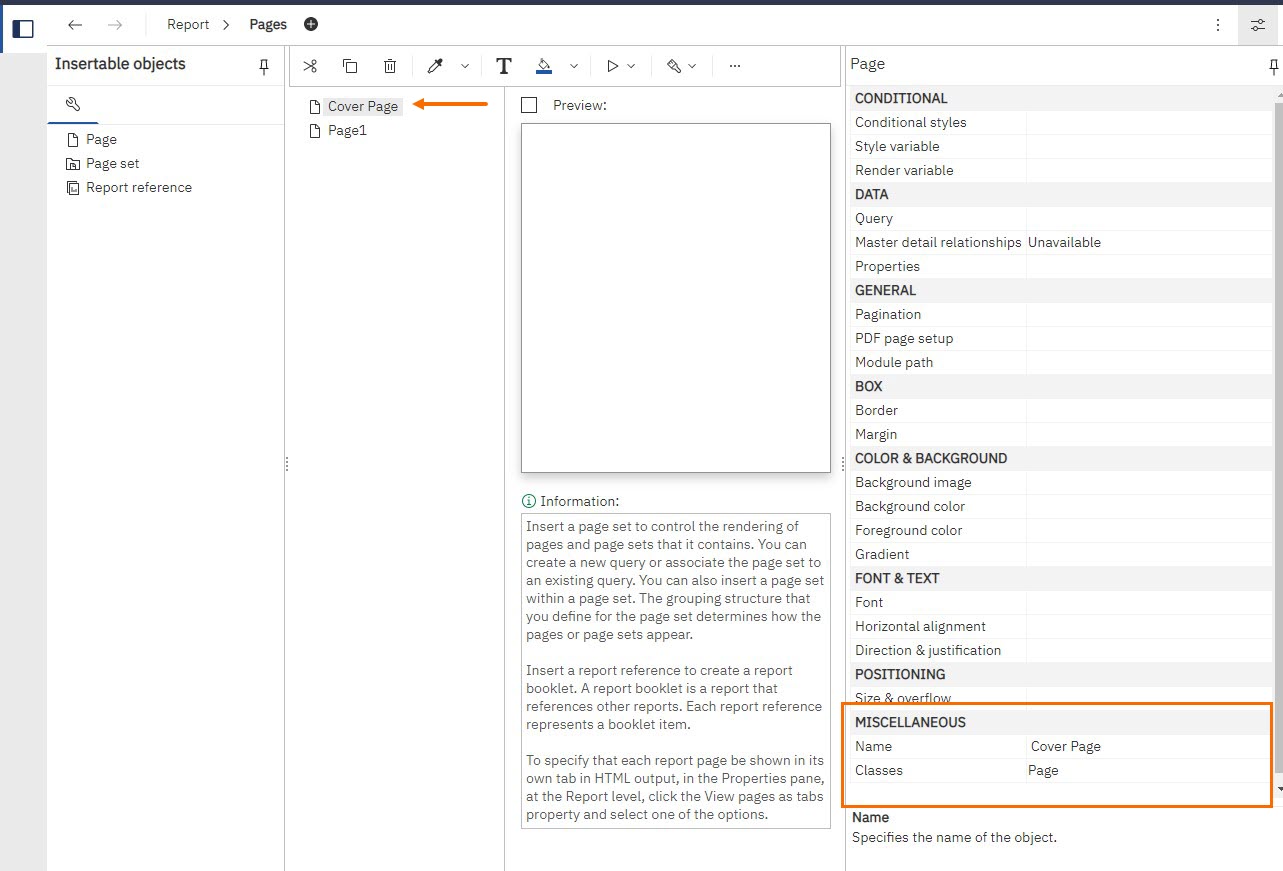
- Double-click Cover Page in the Report Pages section to open the new page.
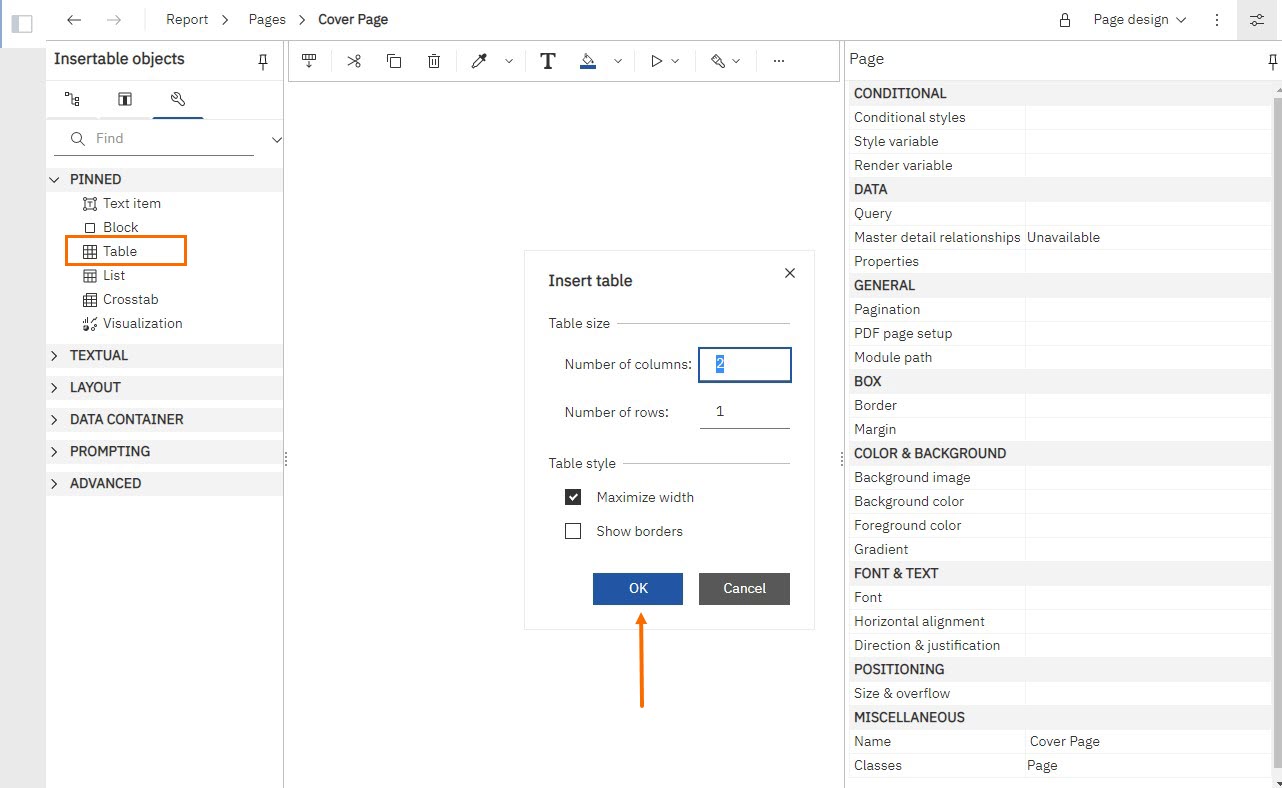
- From the Toolbox, drag a Table onto the report studio.
- We are using a table for our cover page because we want to place an image to the immediate right of our text and keep alignment.
- In the Insert Table pop-up, type "2" for columns and "1" for rows and select OK.
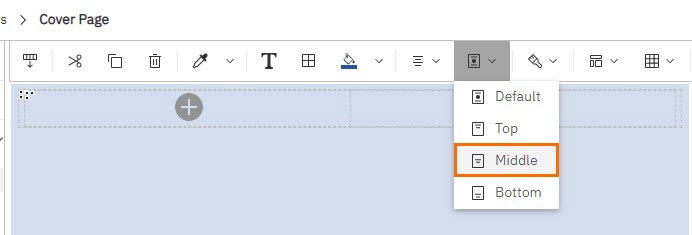
- Select the three dots on the upper left corner to highlight the whole table. Then, in the Toolbar at the top, select the Center button. This will center align the content within the table cells.

- Click anywhere below the tab on the report studio to highlight the whole page. Then select the Middle button from the Toolbar at the top. This will align all the content to the middle of the page.
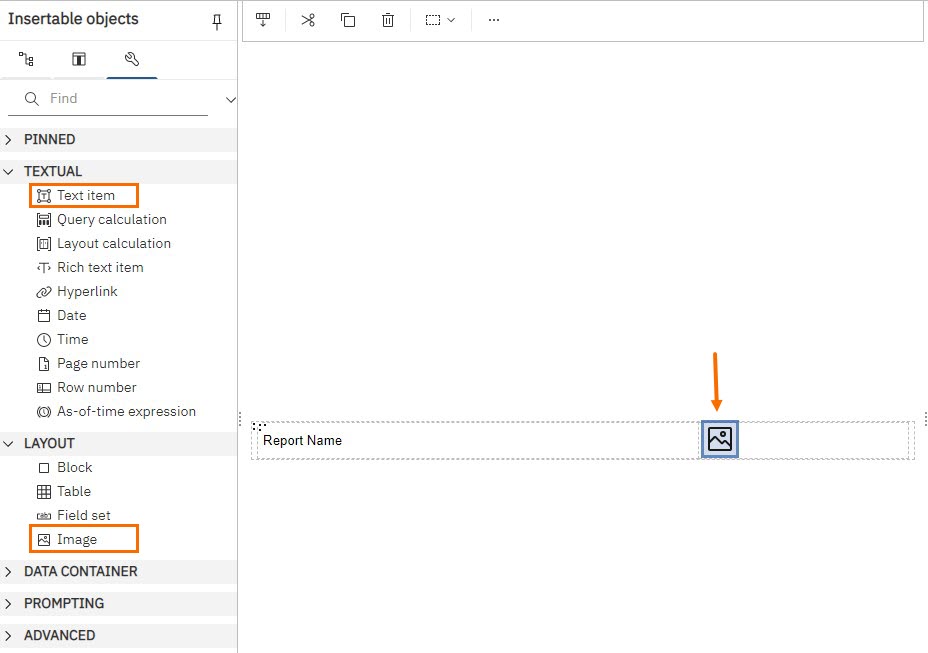
- From the Toolbox, drag Text Item to the left cell of the table.
- In the Text pop-up, type in the name of your report and select OK. You can highlight the text item and use the toolbar to change the font and size as desired.
- From the Toolbox, drag Image to the right cell of the table.
- Double-click the image icon to select your image.
- In the Image URL pop-up, type in the URL for your image and select OK. Your image must be hosted on a website in order to be used.
- To adjust the size of the image, go the Properties pane and scroll down to Positioning.
- Select the ellipsis next to Size & Overflow.
- In the Size & Overflow pop-up, enter in the desired Width and Height, then select Apply and OK.
- Save your changes and run the report to preview your cover page.
When running the report so it displays on your browser, you will need to choose the Page Down option to move past the cover page to the body of your report.
Was this helpful?