| Editions Available: All Editions | Audience: |
Submissions Tab
Opening the Submission Tab
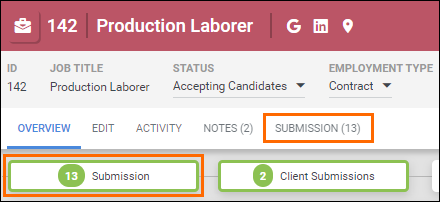
You can open the tab from the Job record overview using either the workflow button or the Submission tab.
| Note: If you use the Submission workflow icon, the number displayed is your total number of submissions to the Job, regardless of current status. |
Viewing the Submission Tab
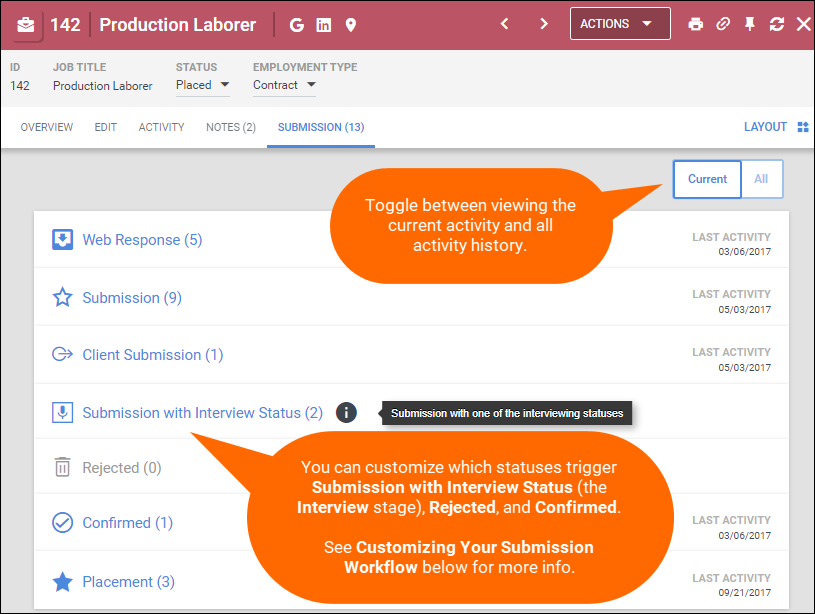
Once you've opened the Submission Tab you can see the current status of all of your submissions. Select the stage to see a list of the individual candidates. If you want to check out all activity history for the record you're viewing, click the All tab at the top of the Submissions tab.
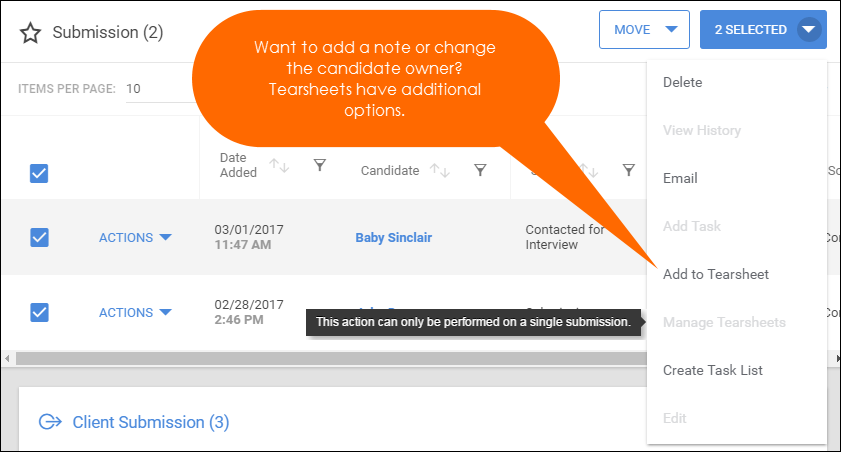
You can also move candidates from one stage to another as well as take additional actions such as add candidates to a tearsheet or create a list of tasks for those candidates.
Moving Candidates through the Hiring Process
The tab is designed like a funnel, beginning with web responses and moving down to the placement.
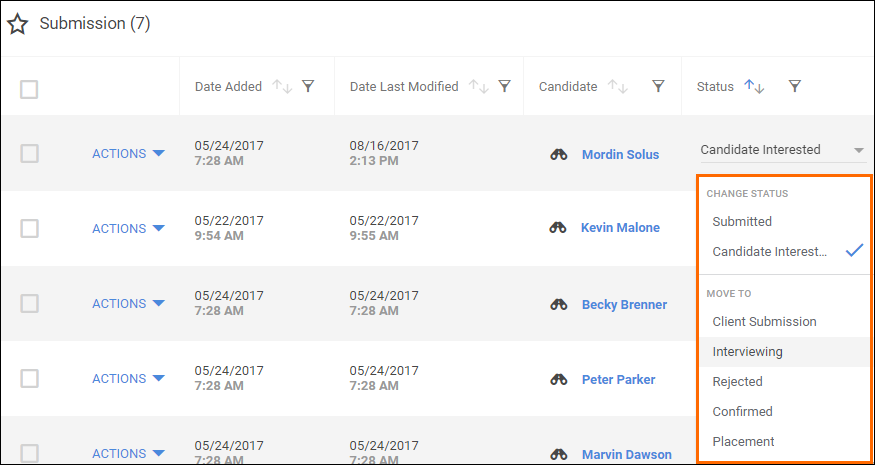
Once you select a stage, you'll see a list appear that contains all candidates in that stage.
You can inline edit a candidate's status and move them to another stage by clicking their status.
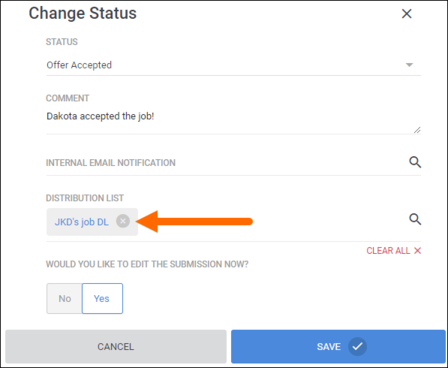
When you change a candidate's submission status, the Change Status screen will appear.
If you want to inform internal users of a candidate's recent status change, consider utilizing the Internal Email Notification field or the Distribution List field. The Internal Email Notification field allows you to notify one internal user. If you want to email notify more than one internal user, use the Distribution List field instead.
- Only internal users on the selected Distribution List will be emailed. For example, if your Distribution List also contains contacts and candidates, they will not receive an email.
Additional Functionality
To take additional actions on your candidates, you can use the Select an Action button to send an email, create tasks, edit the submission details, and more.
| Note: Want even more actions? Check out the Submission List view or create a tearsheet. Additional Mass Update functionality may be available depending on your usertype entitlements. |
Customizing Your Submission Workflow
You can customize your submission workflow to include additional submission statuses for certain stages.
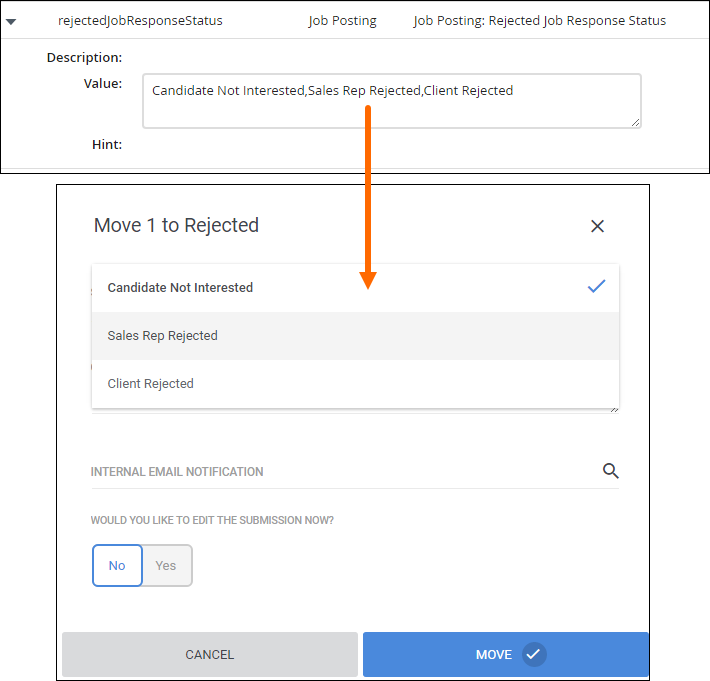
If, for example, you want to have multiple statuses that represent "rejected" so you can quickly assess why the submission was rejected, you can add those statuses under System Settings.
| Note: You'll need admin access for your usertype. Changes to System Settings may require you to log out and back in order to see the changes. |
Submissions
- System Setting: JobResponseStatusList
Interviewing
- System Setting: interviewScheduledJobResponseStatus
Rejected
- System Setting: rejectedJobResponseStatus
Confirmed
- System Setting: confirmedJobResponseStatus
Using these statuses
As you move through the stages, you'll see drop-downs with each status available to you. If you have recently made a change, you may need to log out and log back in to see the updates.
